This content is part of the Alfresco ADF basic customisations tutorials and describes how to change the behaviour and eventing of your Alfresco ADF application. In this example we are going to modify the custom text introduced above, to better understand how the behaviour and eventing work into an ADF application (and an Angular 4 Application in general). As a first example we are going to show to the user, the providers property of the LoginDemoComponent class, indicating if the user is going to access to ECM, BPM or ALL of them. As another example, we will change the behaviour of the validation task, already defined in the login form.
To cover the first example, let’s go back to the custom text described in one of the previous tutorials. As we have done for every previous exercise, let’s edit the login-demo.component.html file, according to the description below.
<alfresco-login ...>
 <h2>Into {{providers}}</h2>
 ...
</alfresco-login>
This syntax instructs Angular 4 to automatically update the HTML content with the value of the providers property of the LoginDemoComponent class, declared into the login-demo.component.ts file.
Saving the login-demo.component.html file, you will see that the application will be updated automatically. If it won’t happen, restart it from the terminal. Below a picture showing how the login page looks like after restarting, in three different conditions: after selecting ECM and BPM checks on the top left menu, after selecting ECM only and after selecting BPM only. Please note that the update of the custom text is automatic, after the update of the providers property.

Both ECM and BPM checks are selected. | 
Only ECM check is selected. | 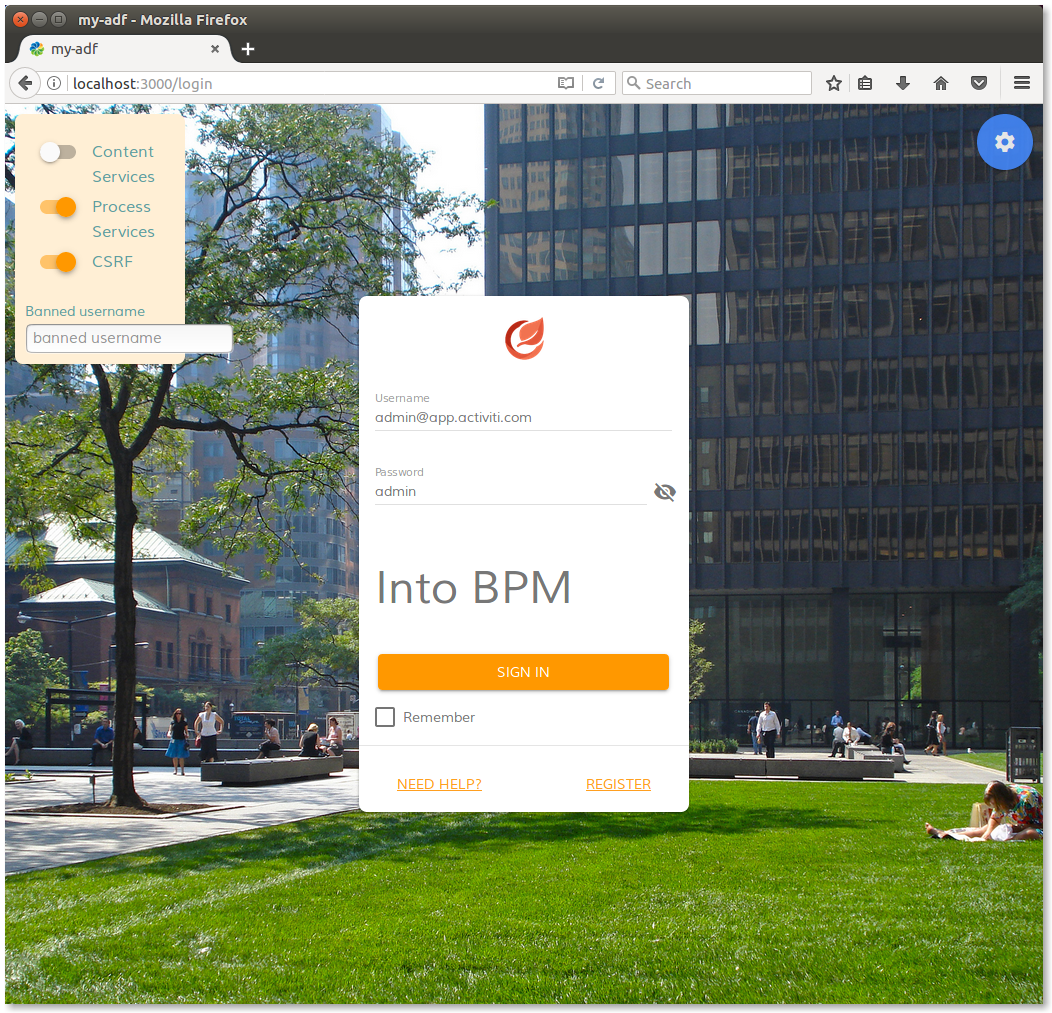
Only BPM check is selected. |
Login page of my-adf application after selecting ECM and BPM checks on the top left menu.
To change the behaviour of the validation task, let’s edit the login-demo.component.ts file according to the description below (please add the text in bold to your source code). With those changes, the validation event is going to ask for a confirmation, before the login task.
onLogin($event) {
  let x = window.confirm('Are you sure?');
  if ( x ) {
    this.router.navigate(['/home']);
  } else {
    this.alfrescologin.addCustomFormError('username', 'Login cancelled!');
    event.preventDefault();
  }
}

Saving the login-demo.component.ts file, you will see that the application will be updated automatically. If it won’t happen, restart it from the terminal. Below a picture showing how the login page looks like after clicking the login button.
Login page of my-adf application after clicking the SIGN IN button.
Clicking on the OK button, the login will proceed as usual, clicking on the Cancel button the login task will be cancelled and the login page will looks like the picture showed below.
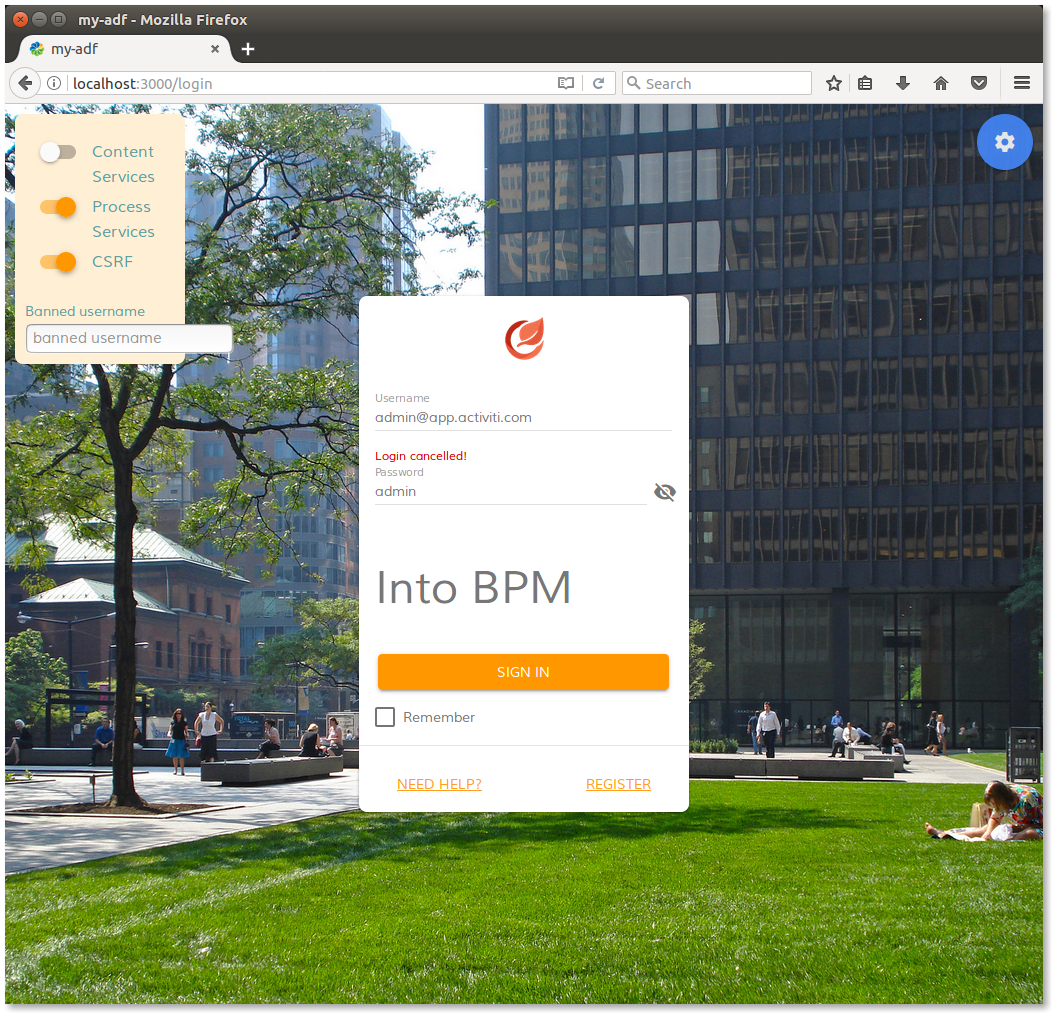
Login page of my-adf application after cancelling the login task.
With this tutorial the set of basic customisation examples is finished. You can know more about Alfresco ADF from the Process service components and Content service components tutorials.
