This content is part of the Alfresco ADF basic customizations tutorials and describes how to add new buttons and text into your Alfresco ADF application. Now that we know how an ADF application works, the customization of the layout should be quite easy. In particular, we would like to see here how to add a custom text and a new button, directly into the login form. In the example below, we are going to use the ADF Login component capabilities to add some greetings in the login form. Let’s edit the login-demo.component.html file according to the description below.
<alfresco-login ...>
 <h2>Hi there!</h2>
 ...
</alfresco-login>
Saving the login-demo.component.html file, you will see that the application will be updated automatically. If it won’t happen, restart it from the terminal. Below a picture showing how the login page looks like after restarting.
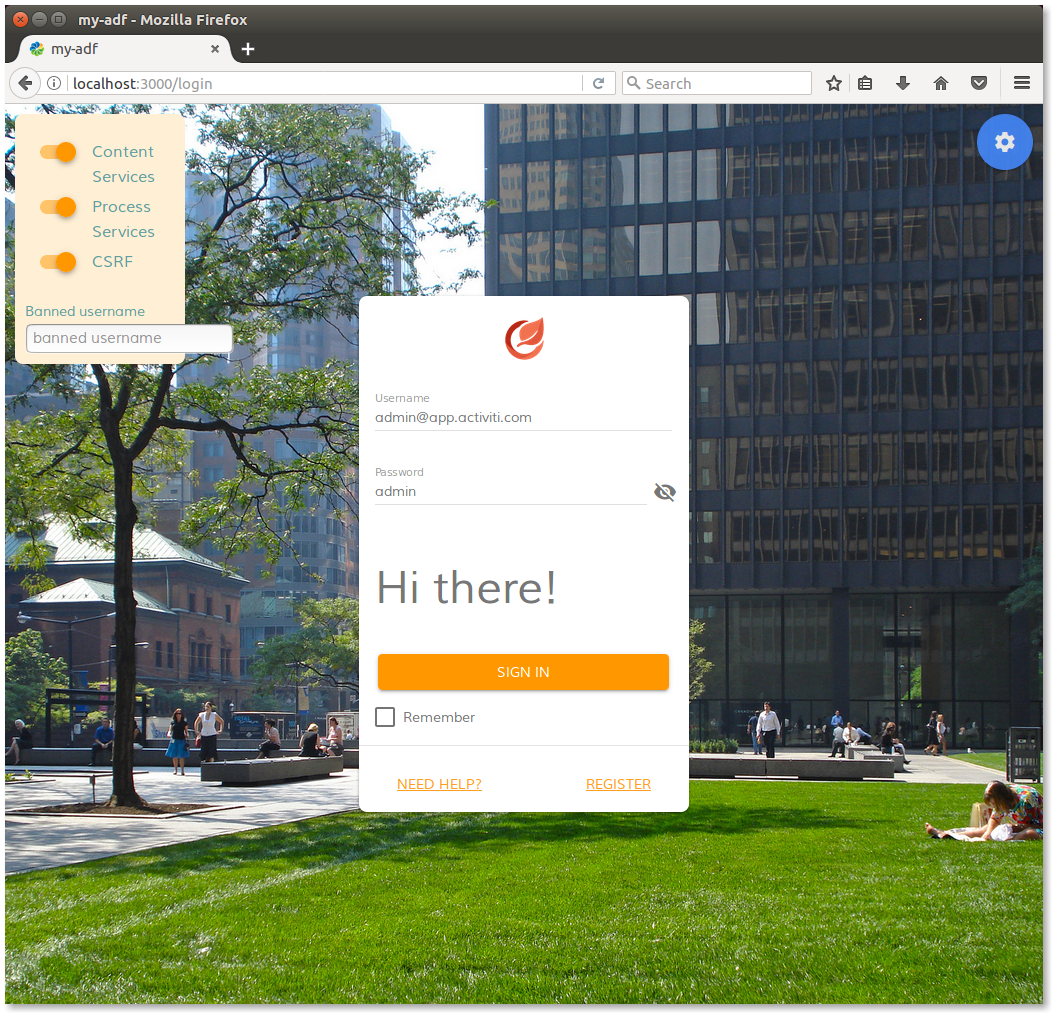
Login page of my-adf application after customisations.
Now that we know how to insert a custom text into the login form, in the following example we are going to replace the text with a brand new button. As first step, let’s edit again the login-demo.component.html according with the description below.
<alfresco-login ...>
 <p>
  <button class="center mdl-button mdl-js-button mdl-button--raised mdl-js-ripple-effect mdl-button--colored" (click)="mybuttonClick()">
   Click me!
  </button>
 </p>
 ...
</alfresco-login>
In the HTML code above, we would like to focus the attention on two different things:
- The
(click)="mybuttonClick()" syntax, used from Angular 4 to interact with the TypeScript Object (an instance of LoginDemoComponent class) declared into the login-demo.component.ts file. In this specific case, the click event raises the execution of the mybuttonClick method of the LoginDemoComponent class. For further details about eventing and behaviours on Angular 4, please go through the Official Documentation dedicated to the user inputs.
To complete the example, let’s edit the login-demo.component.ts file, to manage the event in a method of the TypeScript Class. In particular, let’s add the mybuttonClick method to the LoginDemoComponent class.
...
export class LoginDemoComponent implements OnInit {
 ...
 mybuttonClick(event: any) { // Add this!
   alert('Button clicked!');
   event.preventDefault();
 }
 ...
}
Saving the app.component.html and app.component.ts files, you will see that the application will be updated automatically. If it won’t happen, restart it from the terminal. Below a picture showing how the login page looks like after restarting.

Login page of my-adf application with the custom button.
Clicking the new button, the result is extremely simple, but it’s everything we need to make it work. Below a picture showing how the login page looks like after clicking it.

Login page of my-adf application, after pressing the custom button.
Next task >>
