
Form Stencils 101
Turn on suggestions
Auto-suggest helps you quickly narrow down your search results by suggesting possible matches as you type.
Showing results for
- Alfresco Hub
- :
- APS & Activiti - Blog
- :
- Form Stencils 101
Form Stencils 101
- Subscribe to RSS Feed
- Mark as New
- Mark as Read
- Bookmark
- Subscribe
- Printer Friendly Page
- Report Inappropriate Content
31 Aug 2016
2:20 PM
Okay, I know. It’s frustrating. You’ve got Alfresco Process Services running and people interested, but you find it doesn’t have a particular form control that is essential for you to use it. Stress not, there is an easy way to create or link in your own custom controls, and I’ll give you the most trivial introduction to it here. Or, if life is too short, you can watch a short video here.
For this simple example, we’re using a publicly available image service that provides some random images (http://lorempixel.com).
Not surprisingly, you’re going to have to do all this from the Stencils page in App Designer.

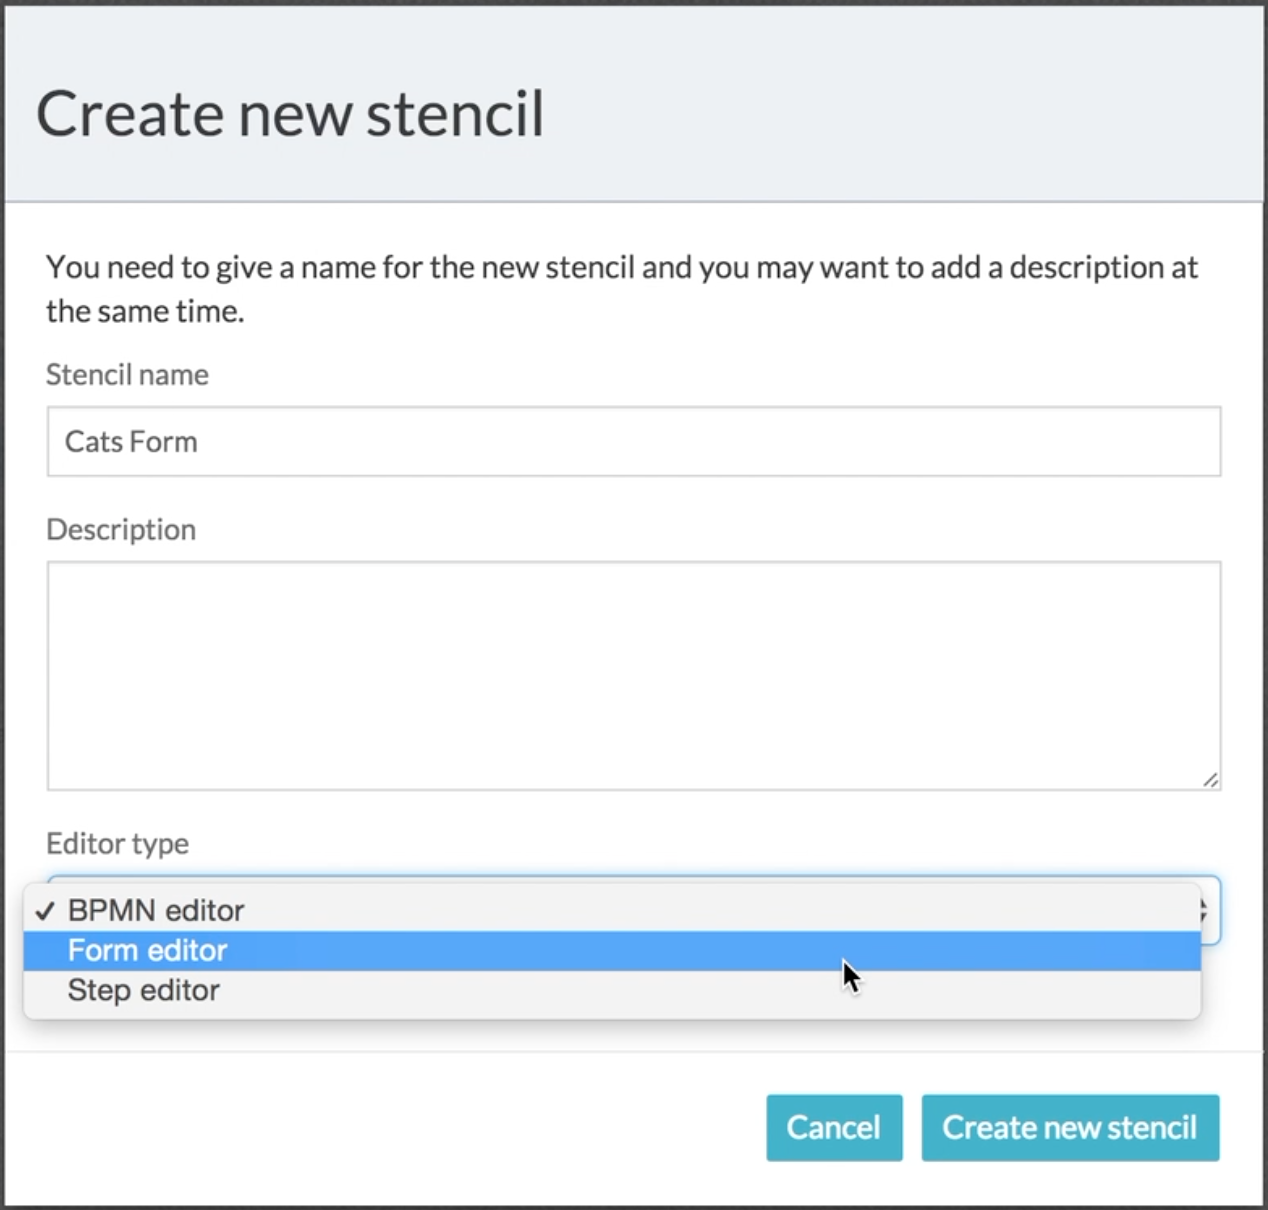
Click Create Stencil to get started, and enter a name for the stencil and choose the type of stencil. I don’t need to tell you to pick Form editor, do I?
You then get taken to the stencil’s detail page. Just click the Stencil Editor button to be able to actually modify the new stencil (which starts with the default set of form controls already there).
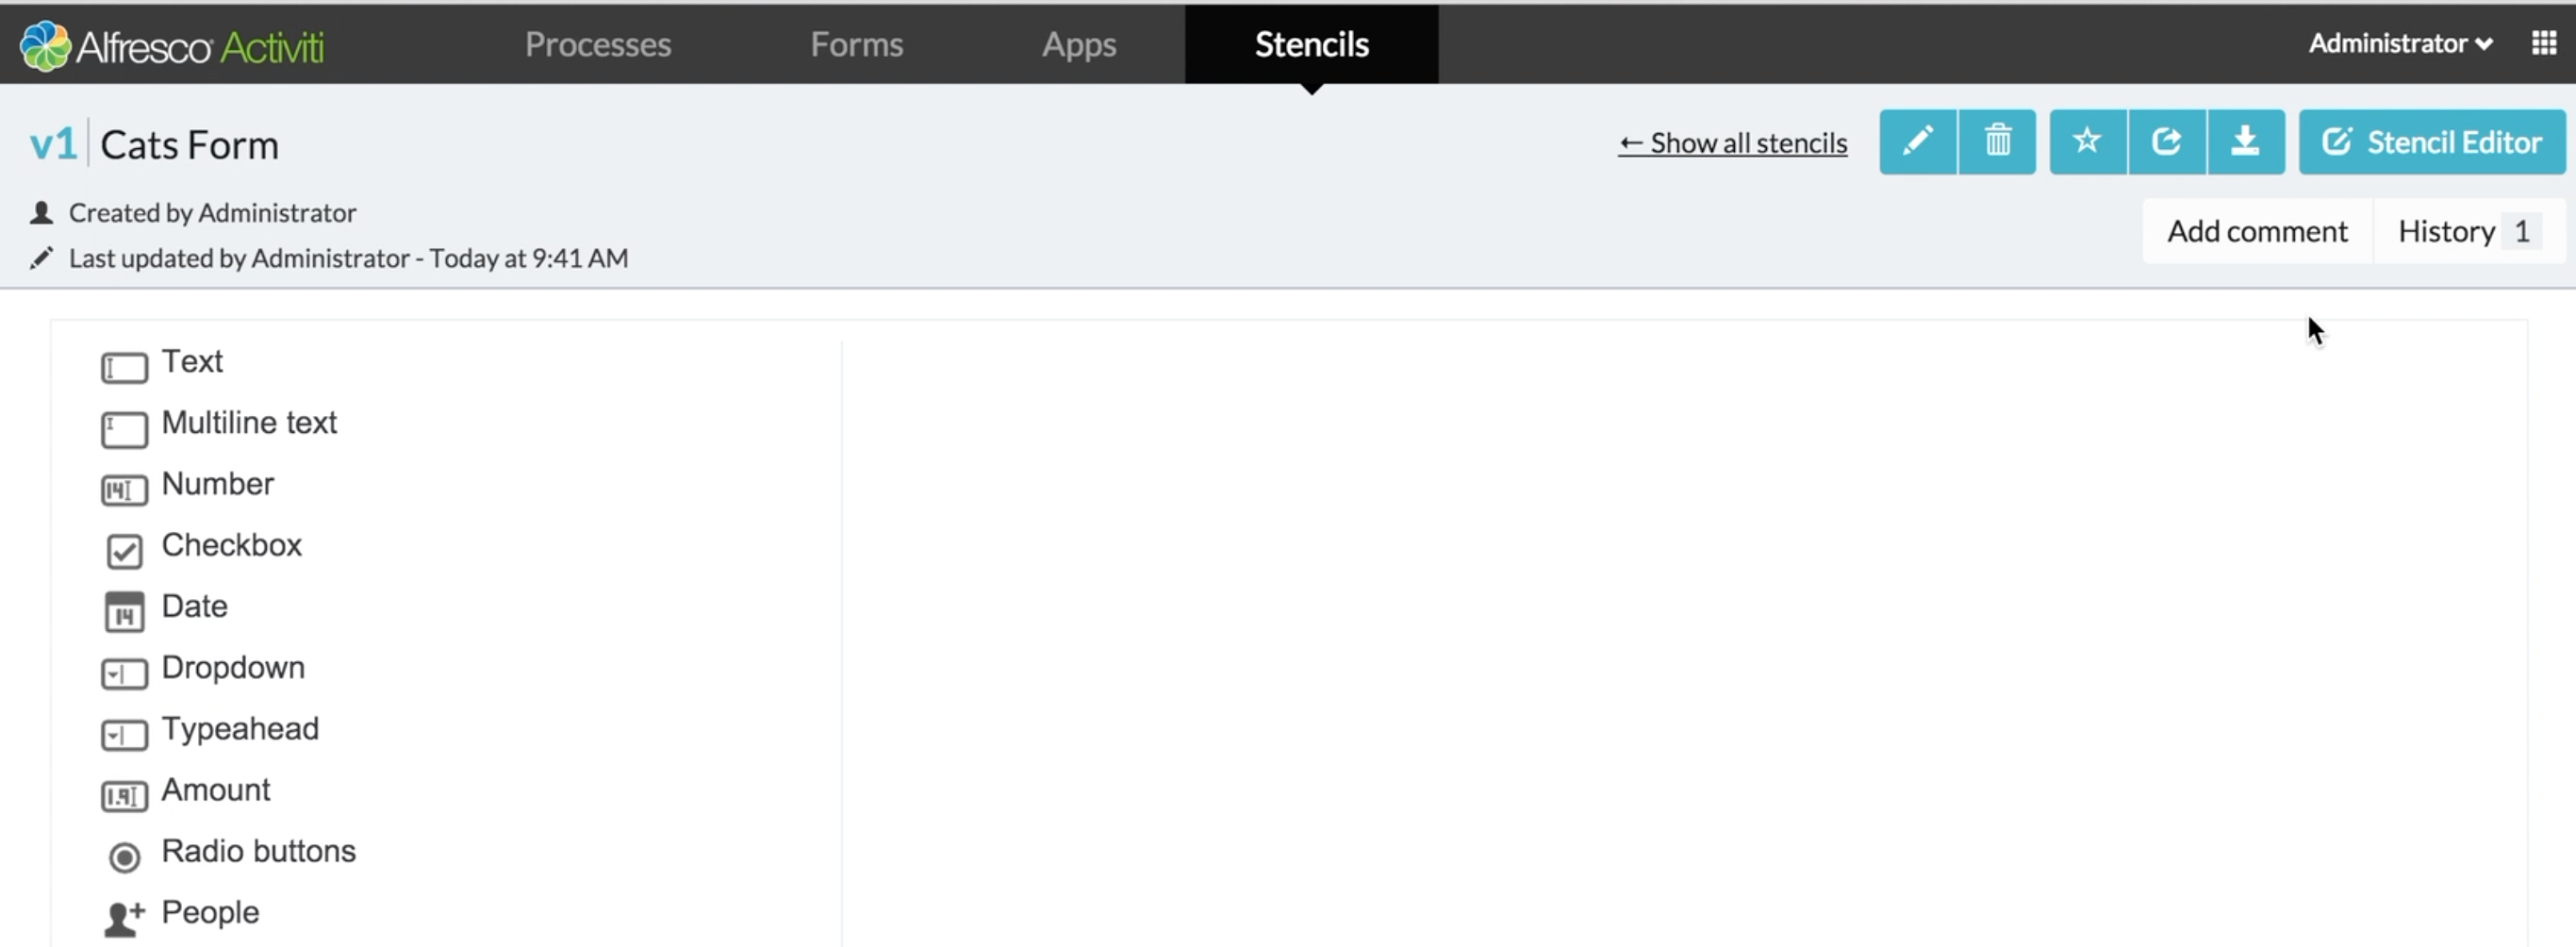
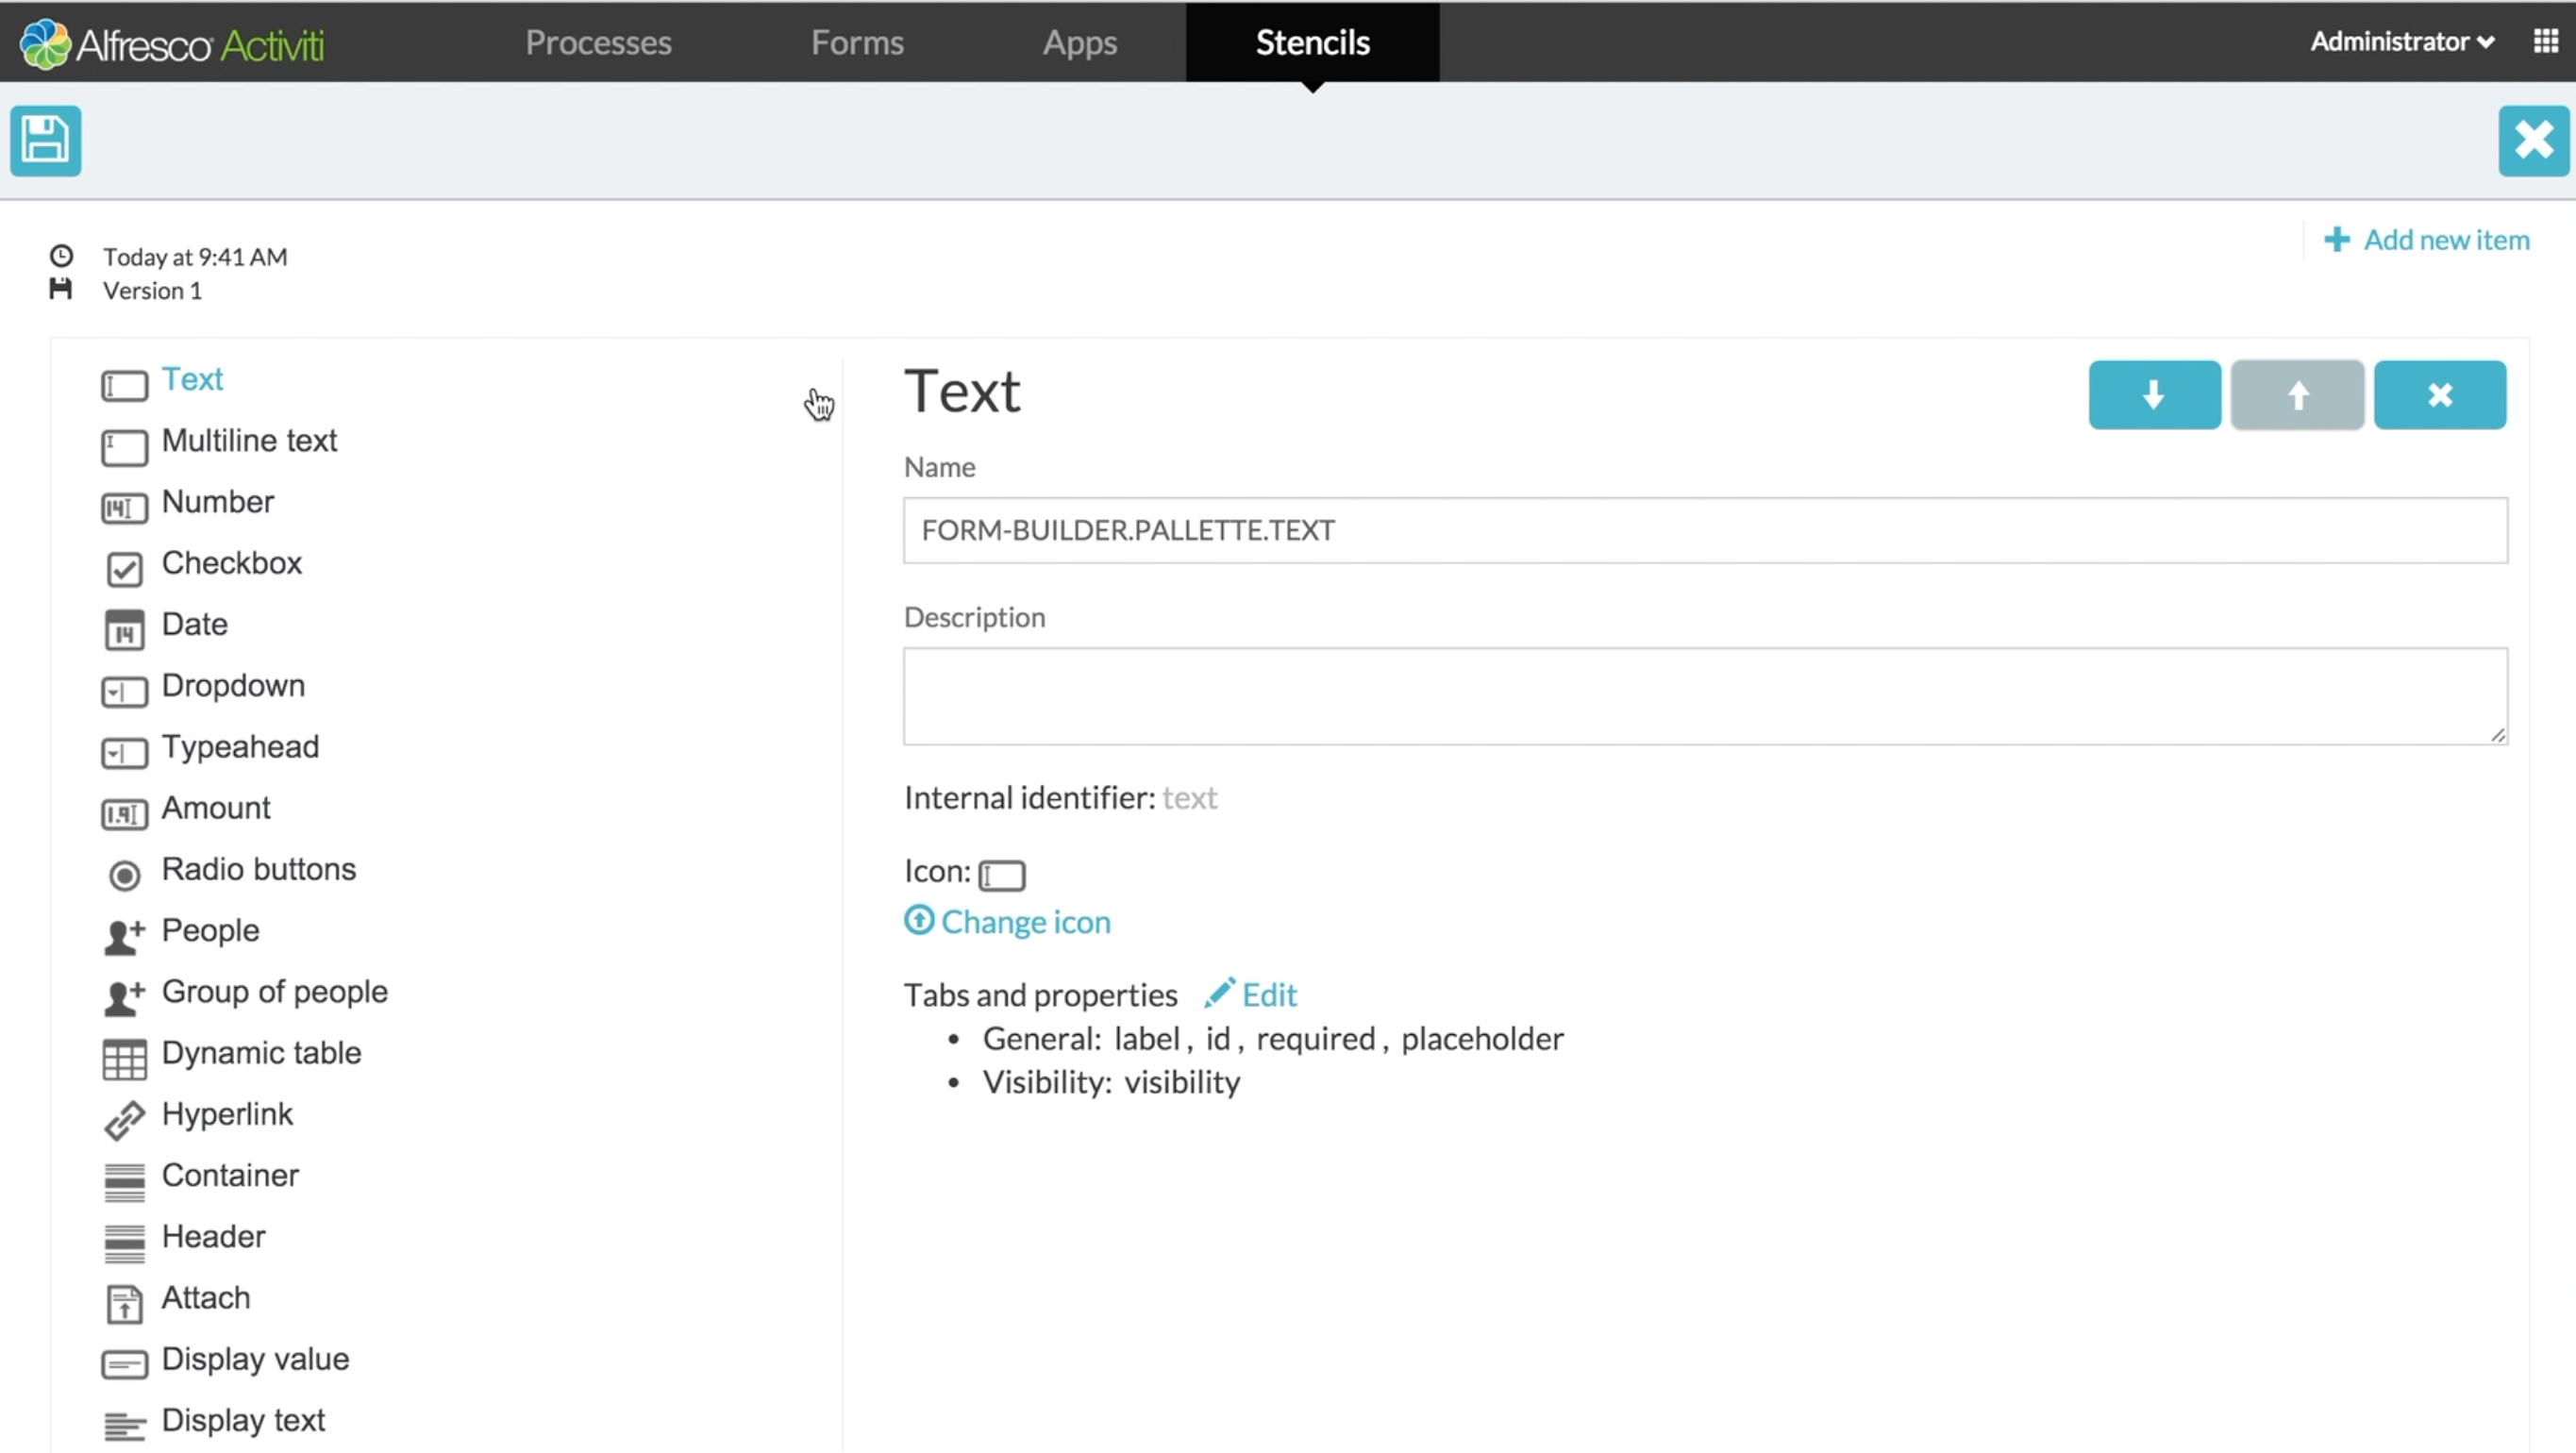
With any of the existing controls, you can rename them, hide them, change their icon and so on. However, we’re interested in create a new control, so click the Add new item link.
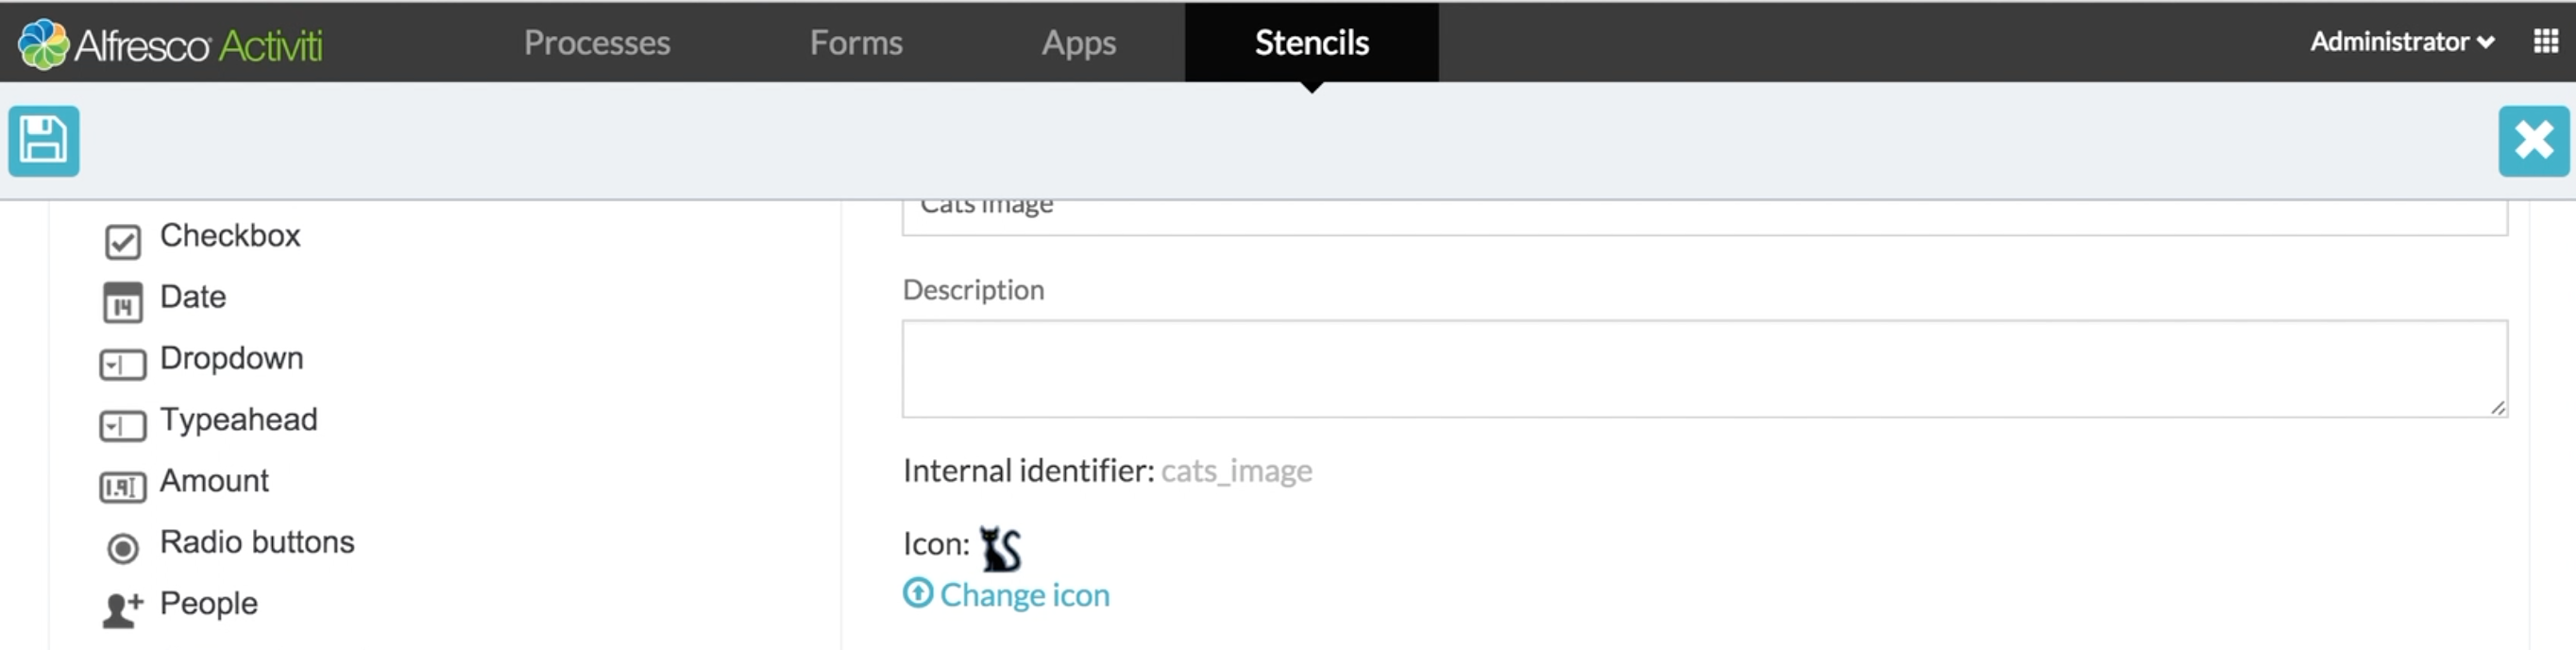
For this example, we’re going to create a custom image control that gets a random cat image and renders it in a configurable height and width. The first thing is to give our control a name and optionally a description.
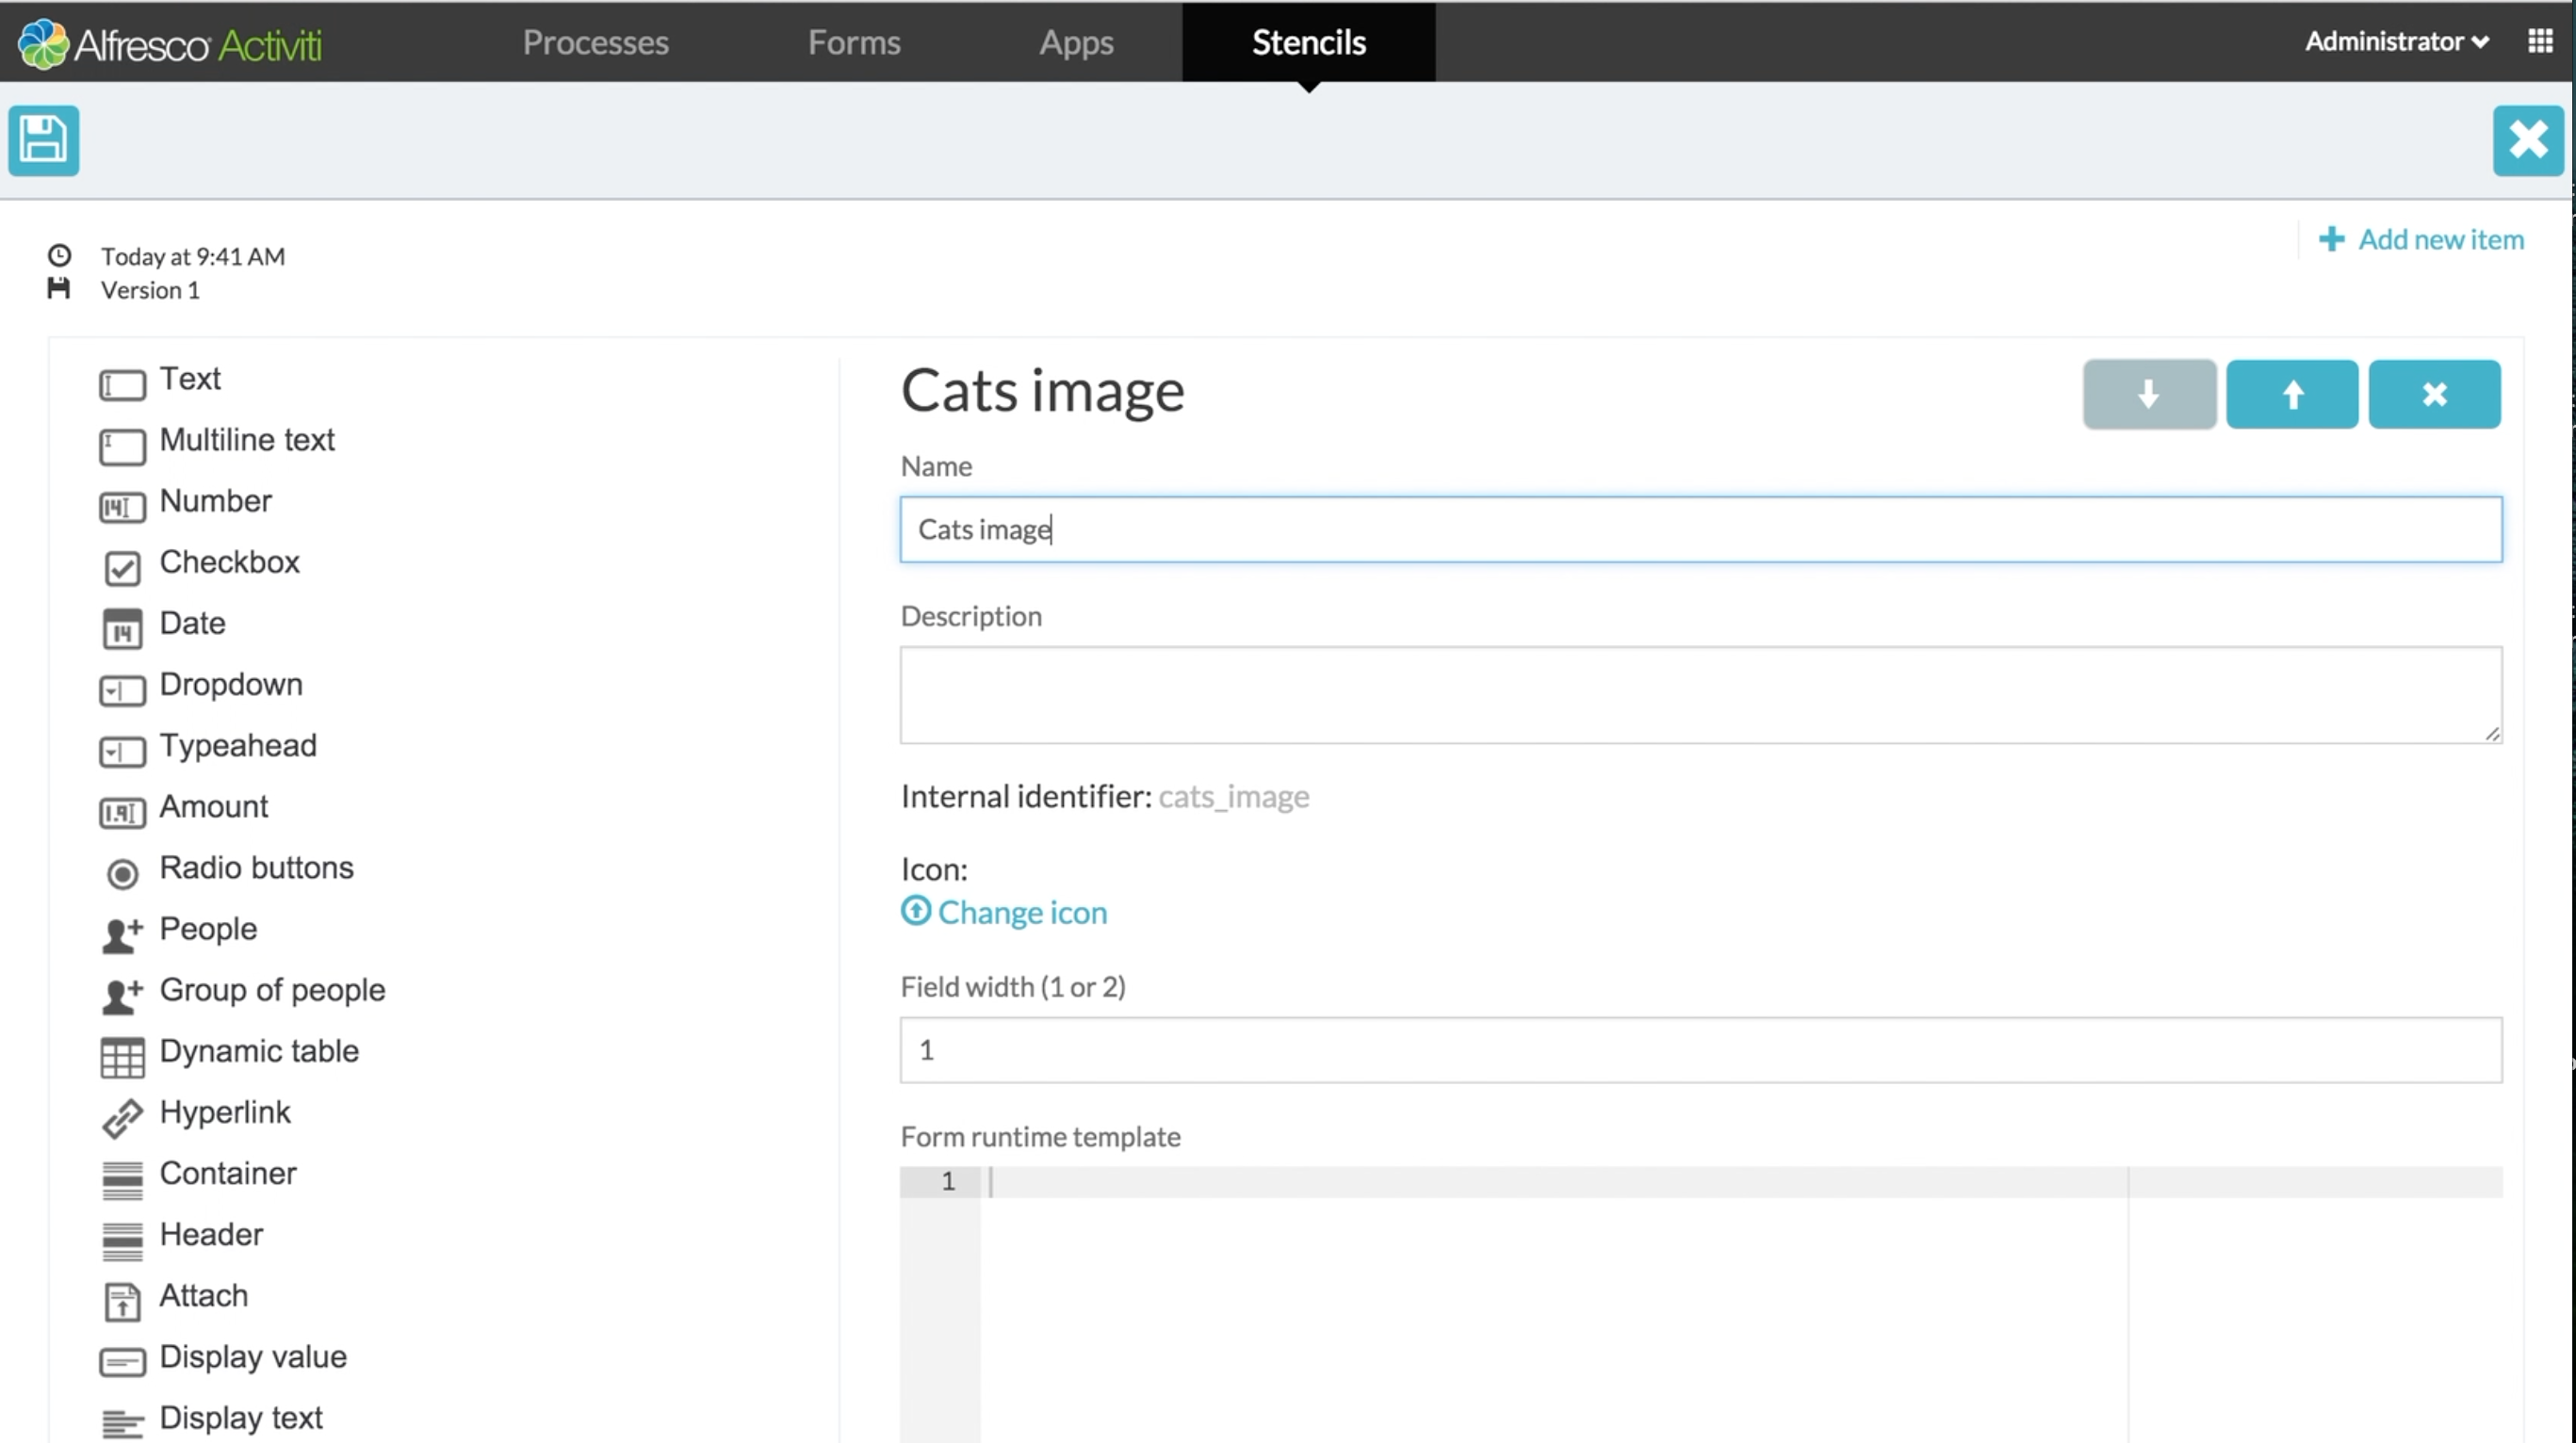
We can then upload an icon to use for the control in the form editor. You can download this image to use as the icon:![]()
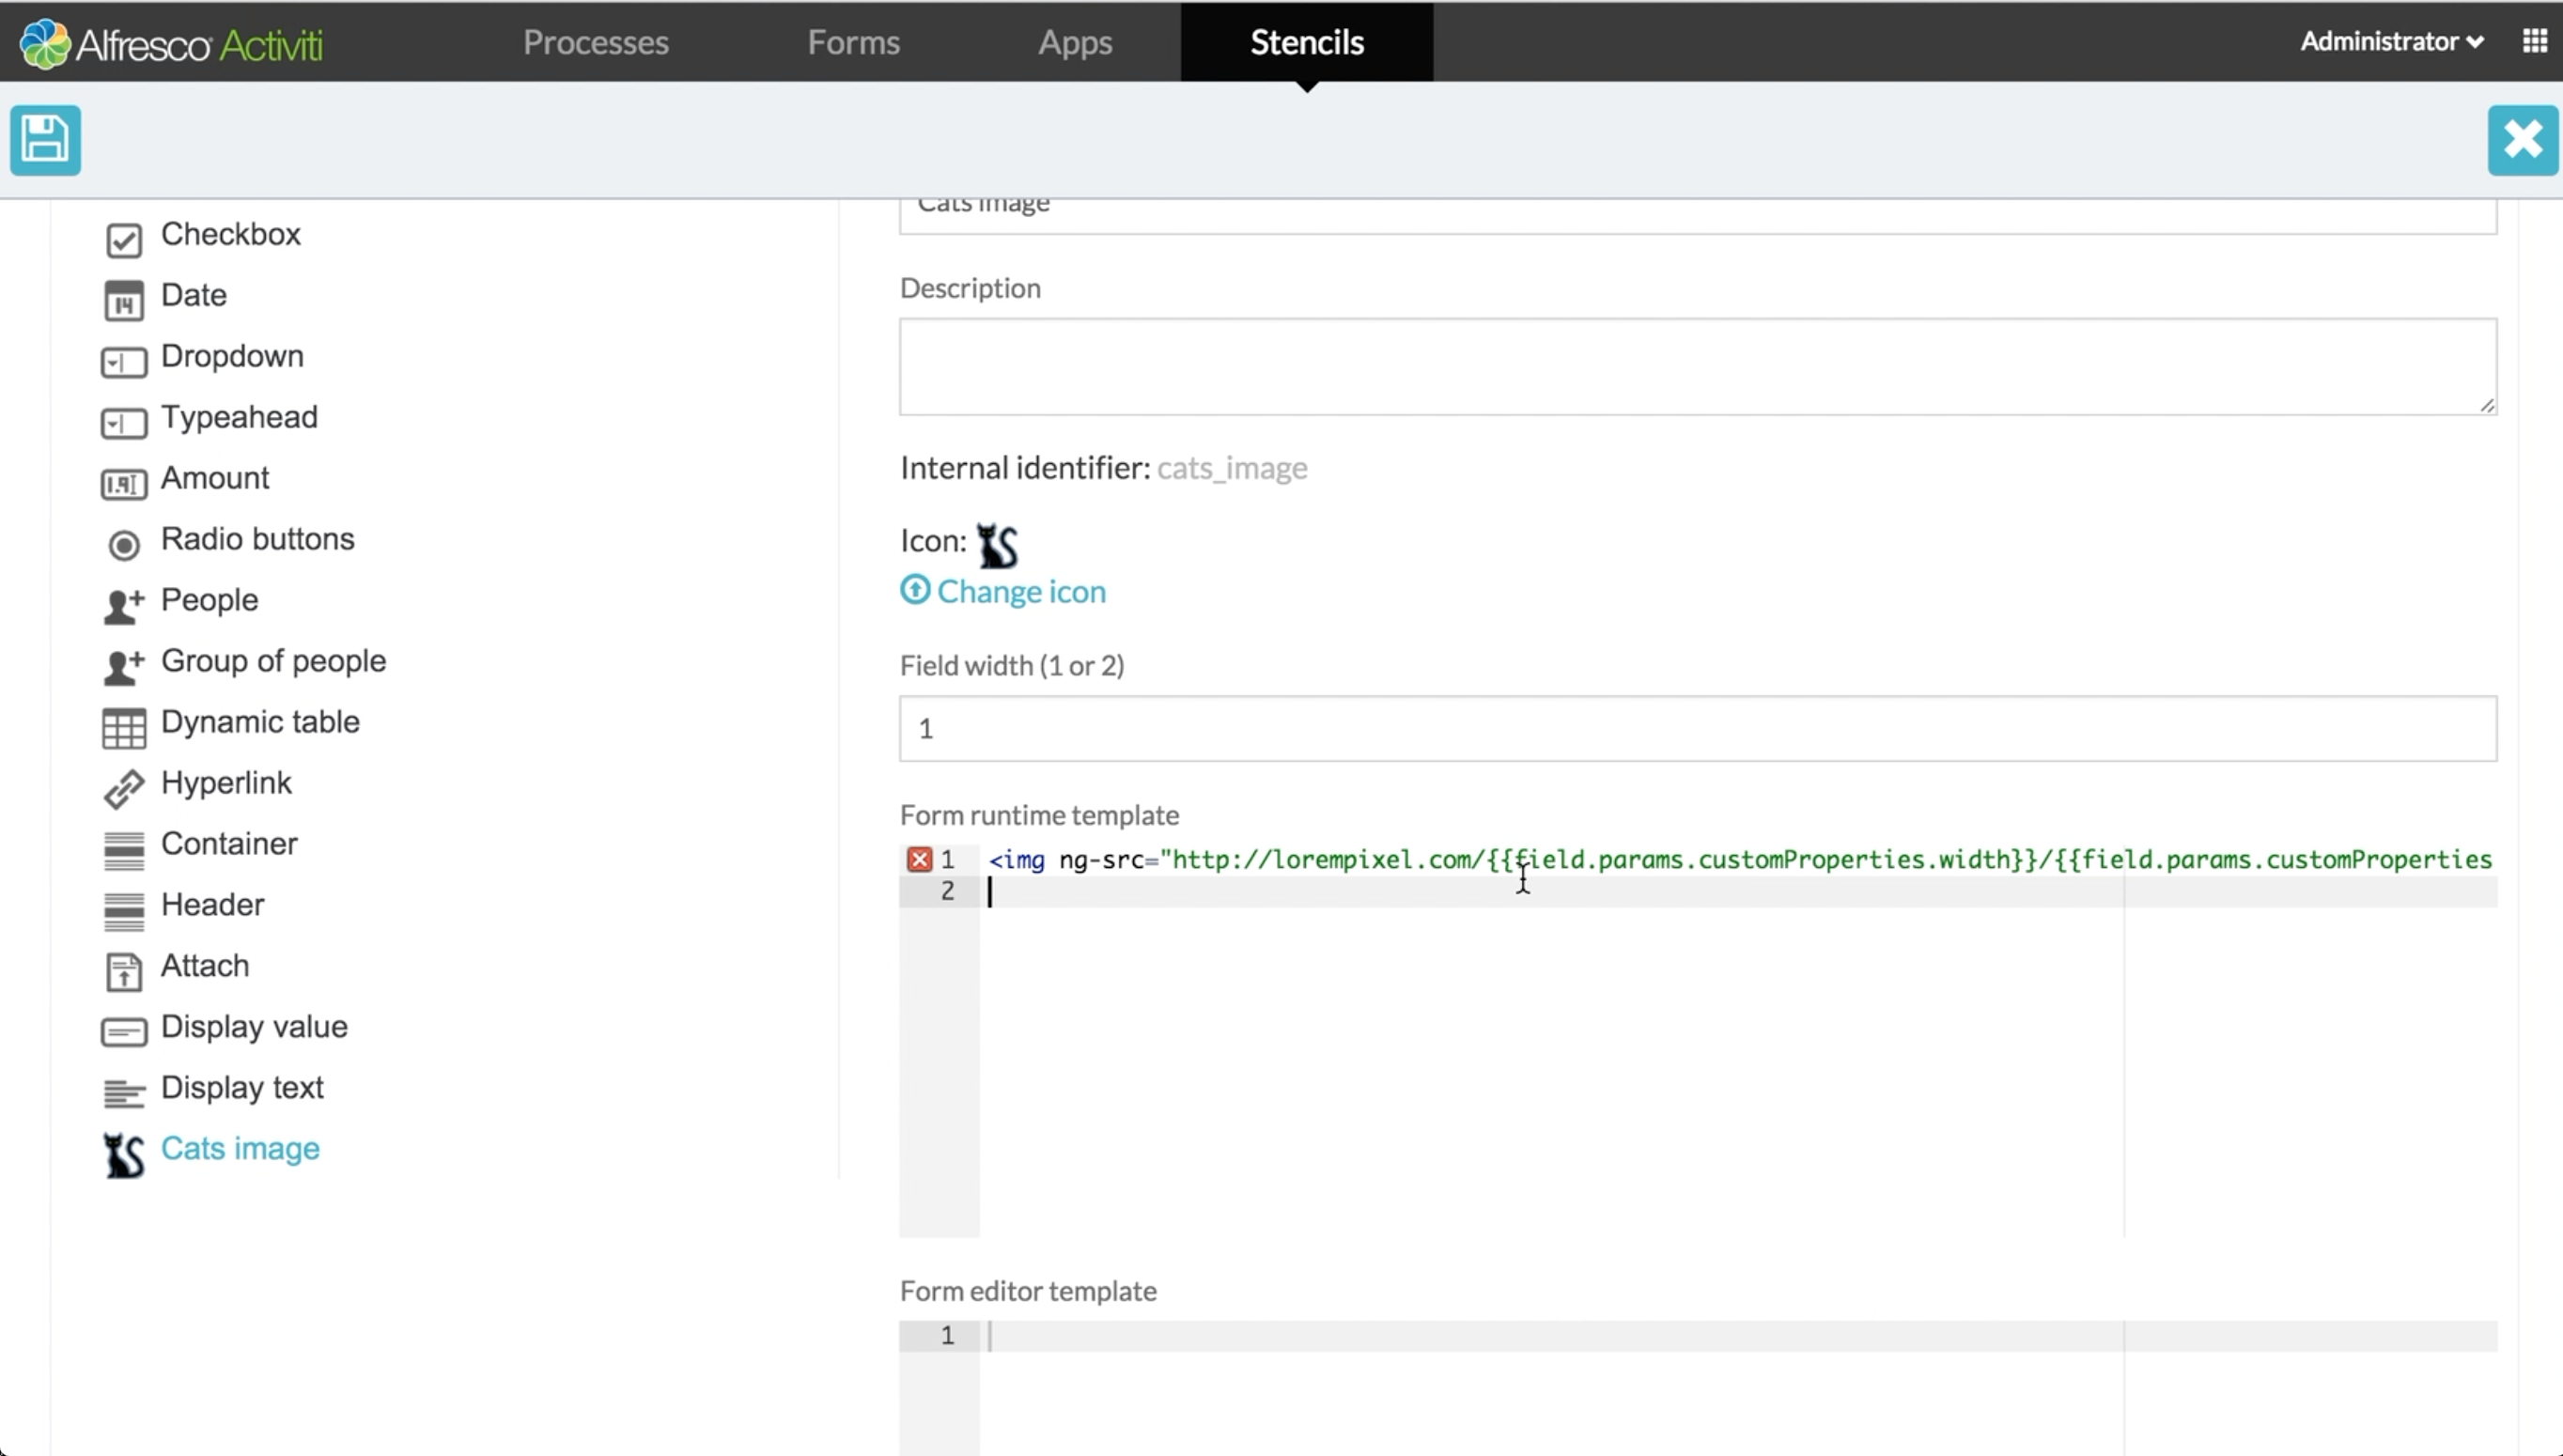
In the next area we need to give the HTML and JavaScript necessary to render the control when it needs to be displayed in a form at runtime. We’re doing a really easy example and just using an image URL that takes a couple of variable placeholders for the height and width (field.params.customProperties). Copy and paste the following text (without the space character in the url!):
<img ng-src="http://lorempixel.com/{{field.params.customProperties.width}}/
{{field.params.customProperties.height}}/cats/"></img>
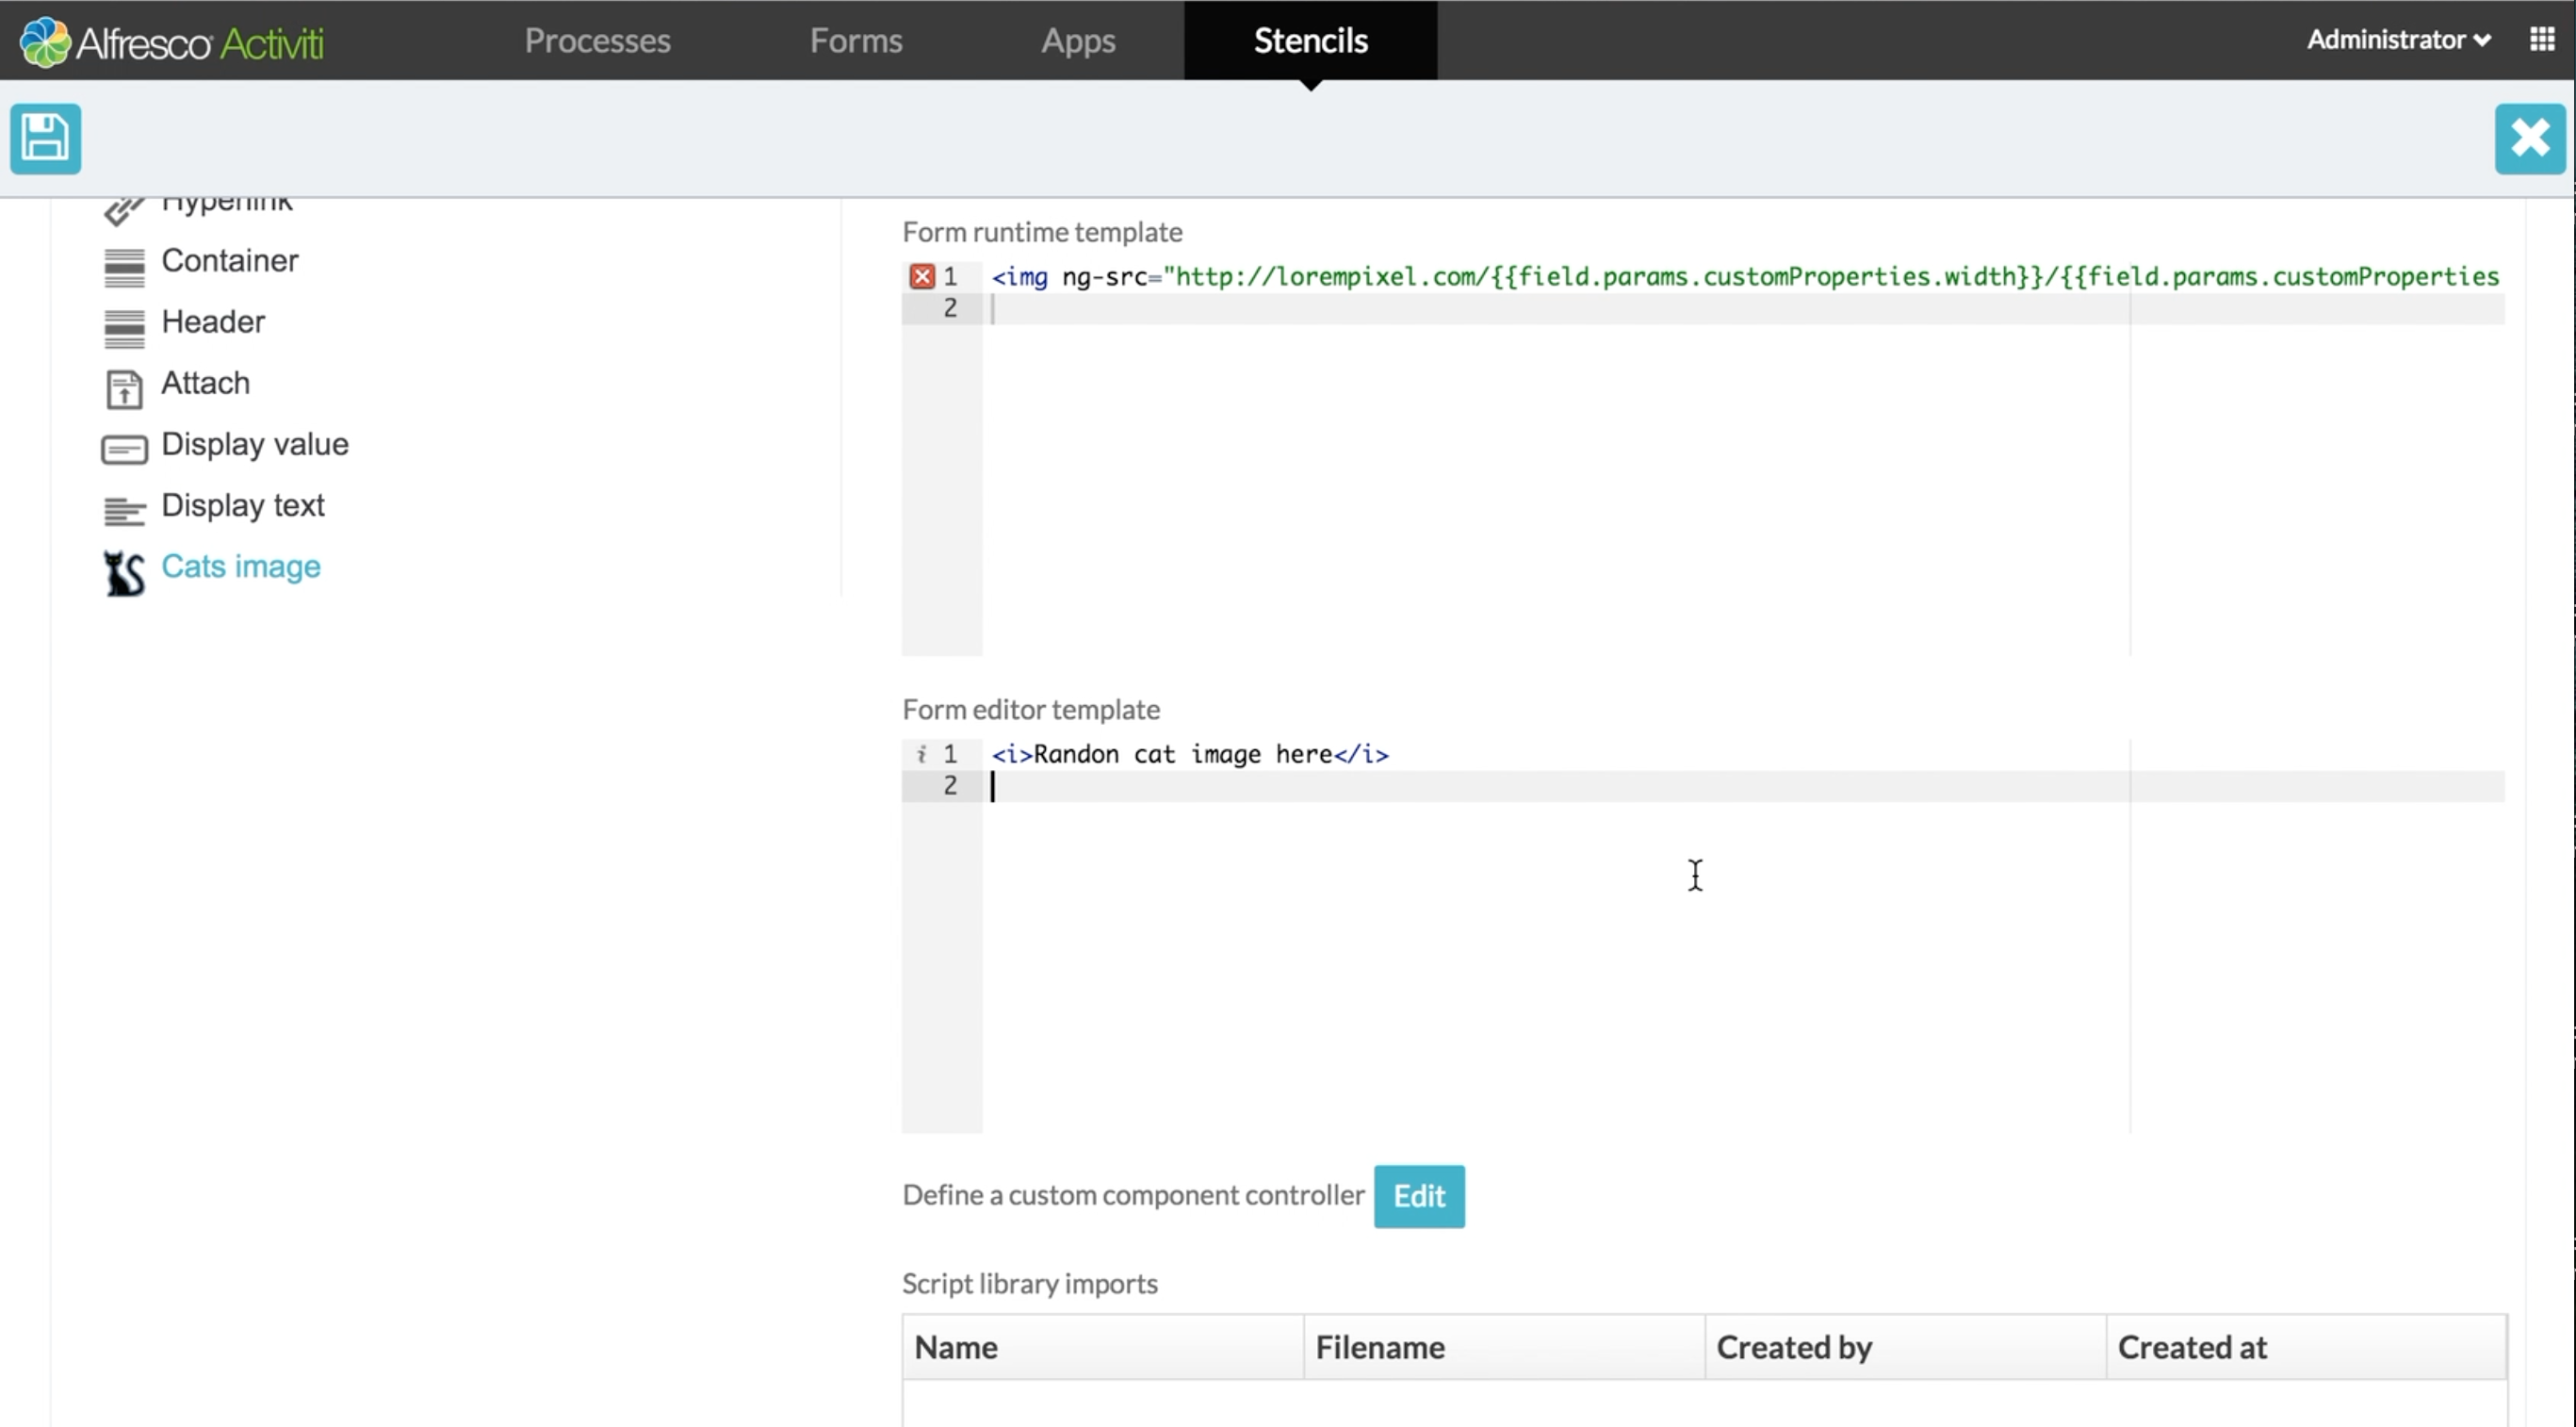
We can then give the HTML and JavaScript that should be used to represent the control at design time in the form editor. Again, you can copy and paste the text below:
<i>Random cat image here</i>
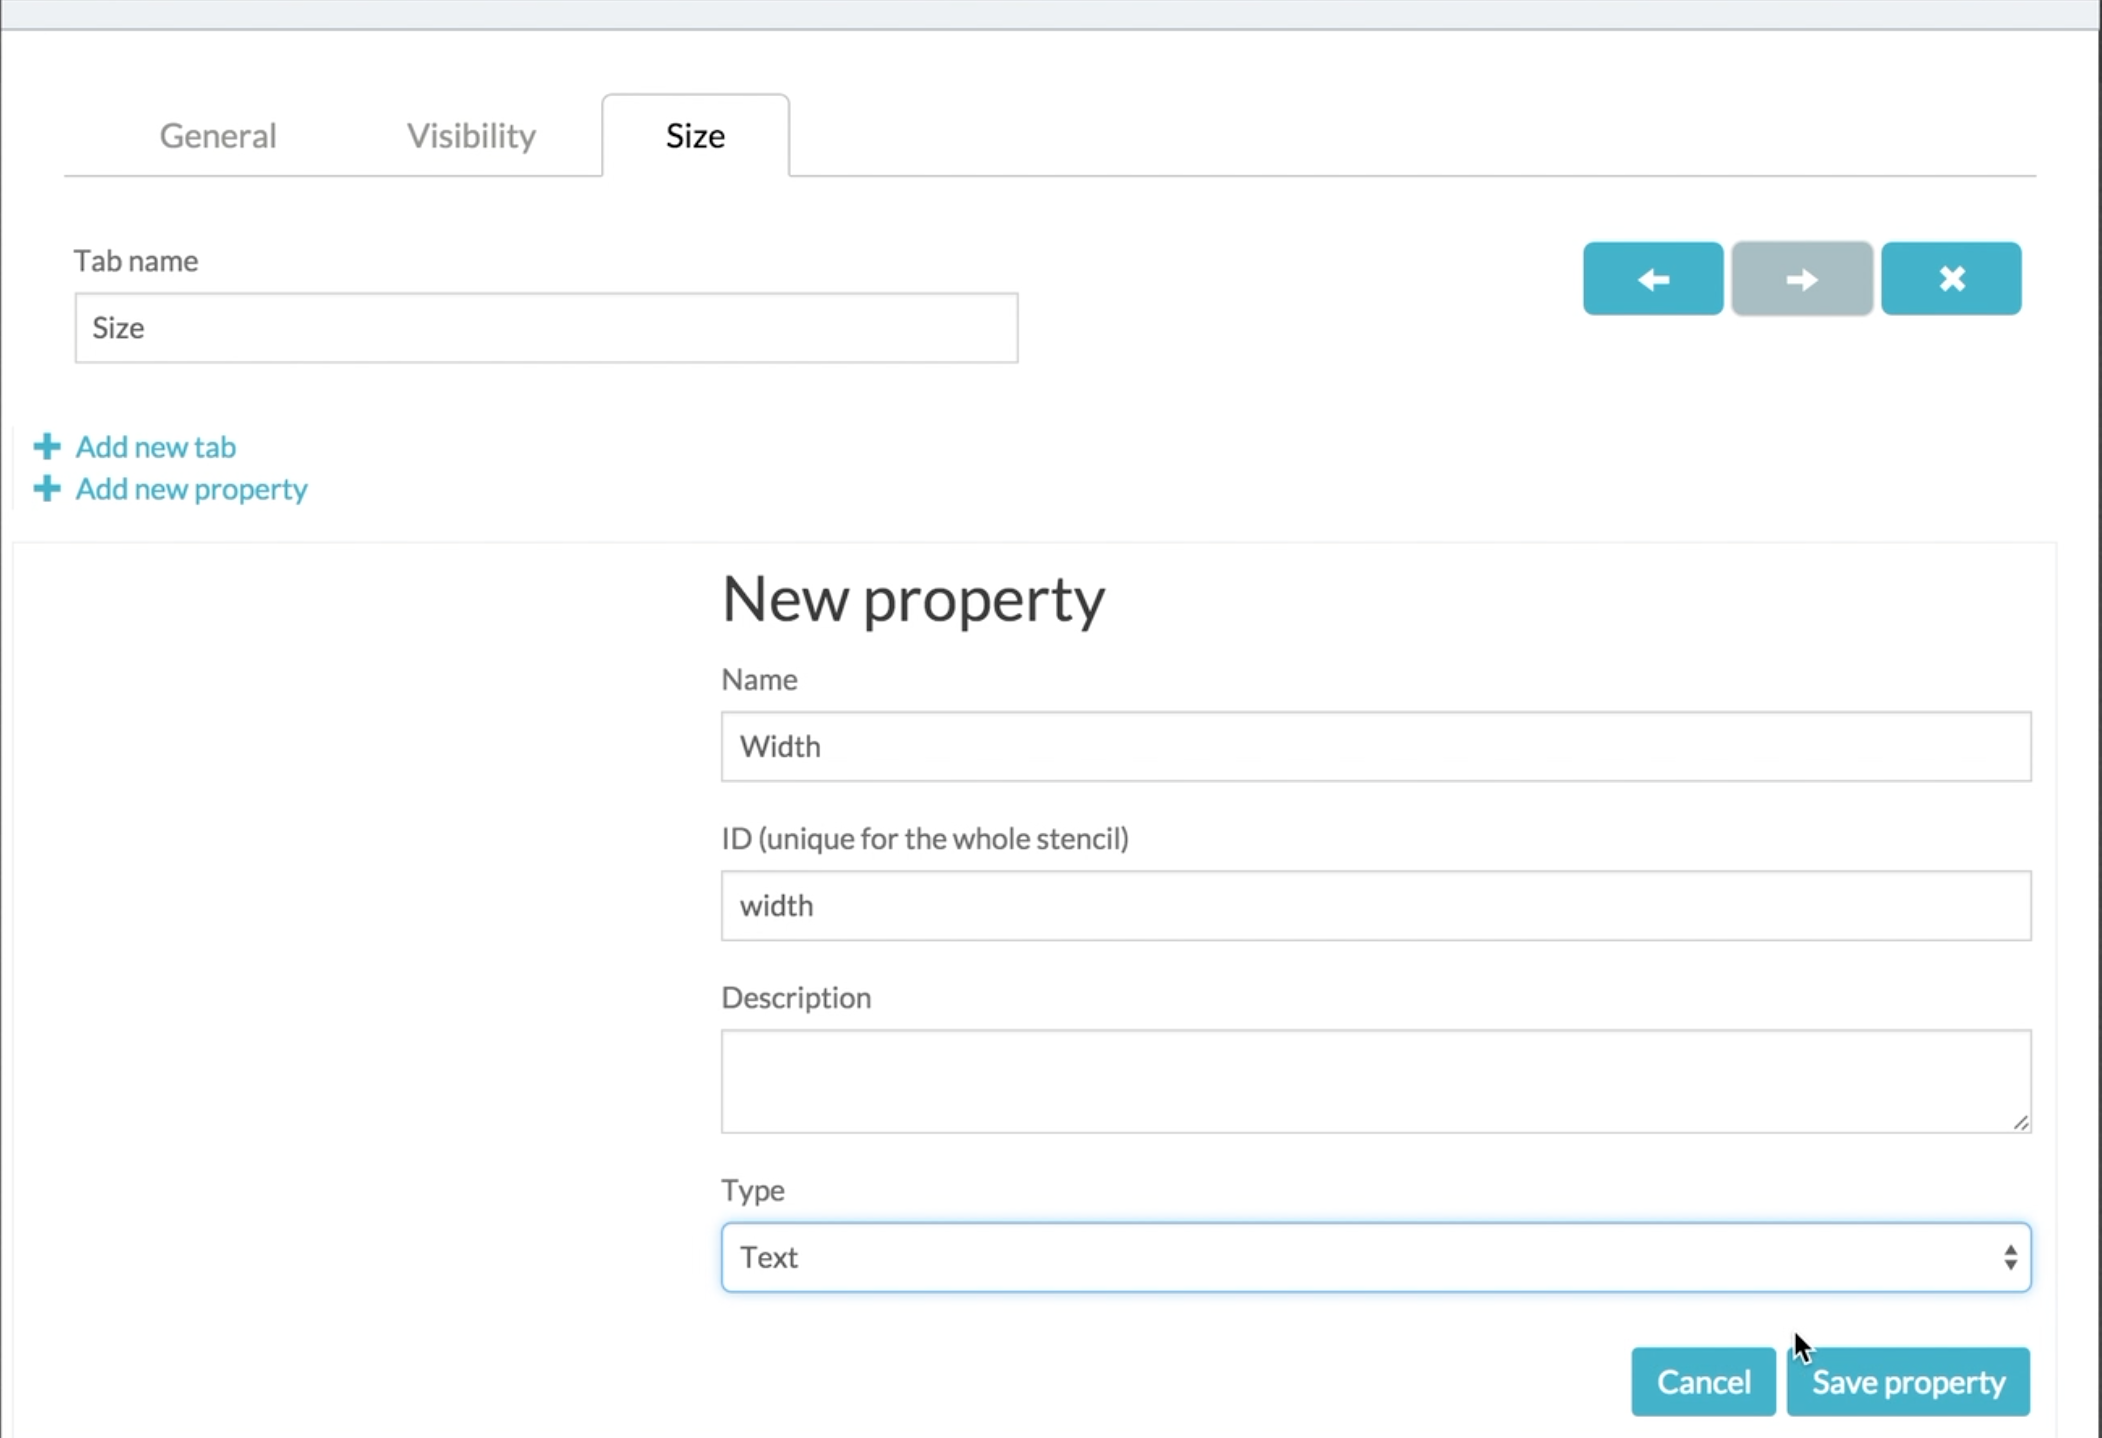
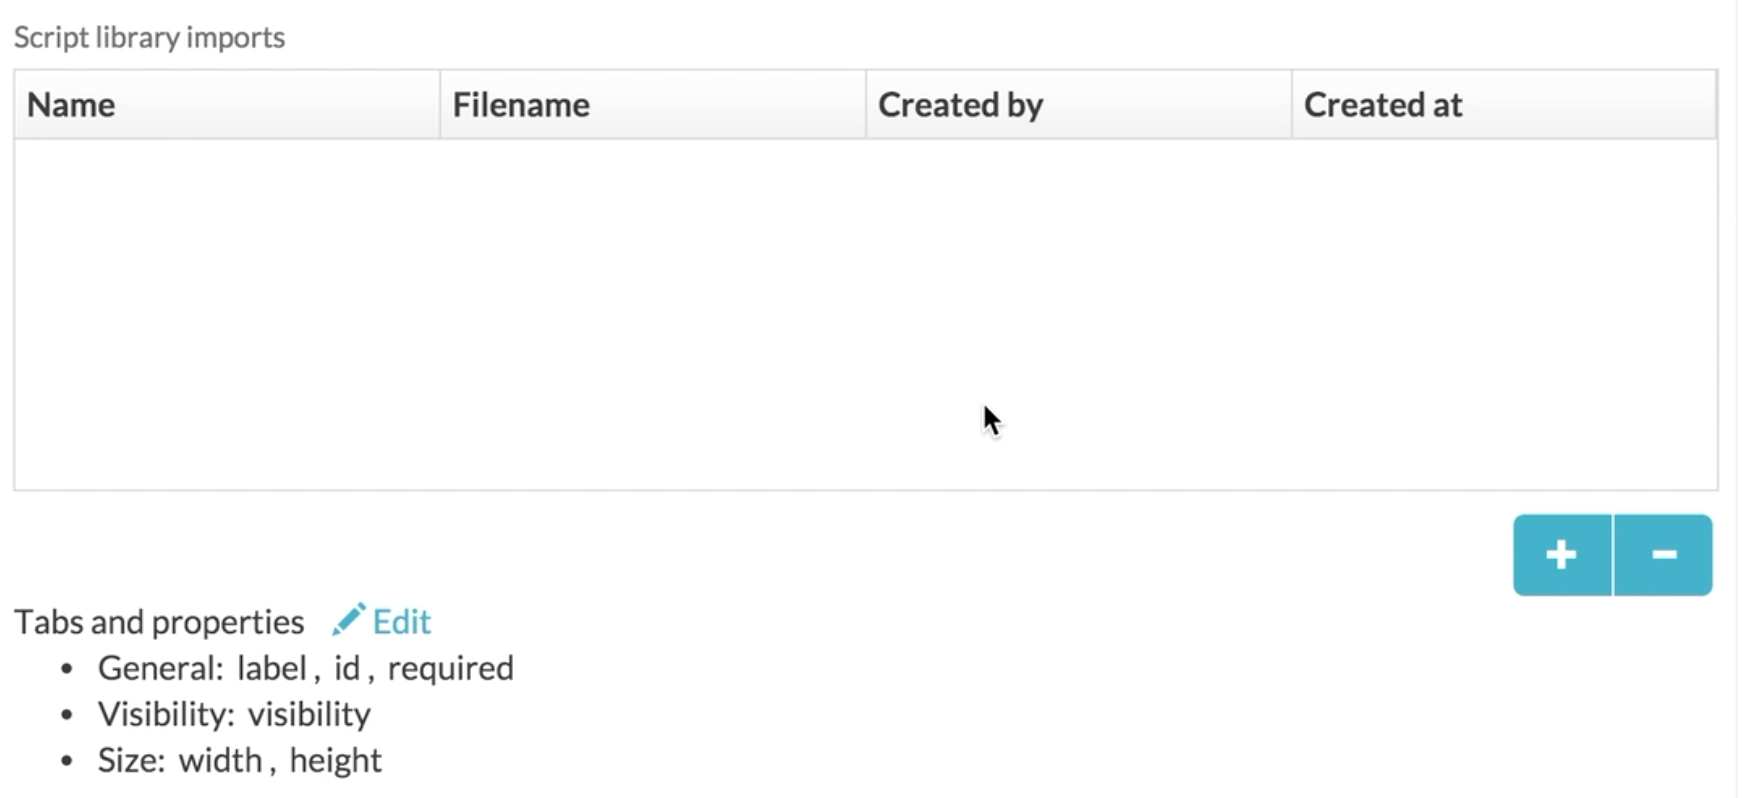
Now to define the custom configuration properties for width and height. Click the Edit link next to Tabs and properties.

In the Edit stencil properties dialog, click the Add new tab link and give the new tab the name ‘Size’. This means when we drag the new control onto a form in the form editor, clicking to configure the field will now also show a tab for size.

Click Add new property and give the property name ‘Width’ and ID of ‘width’, then select the datatype of Text (even though it’s a number we’re getting, we’re still just passing it directly to the image URL).
Do the same to add a property named ‘Height’.
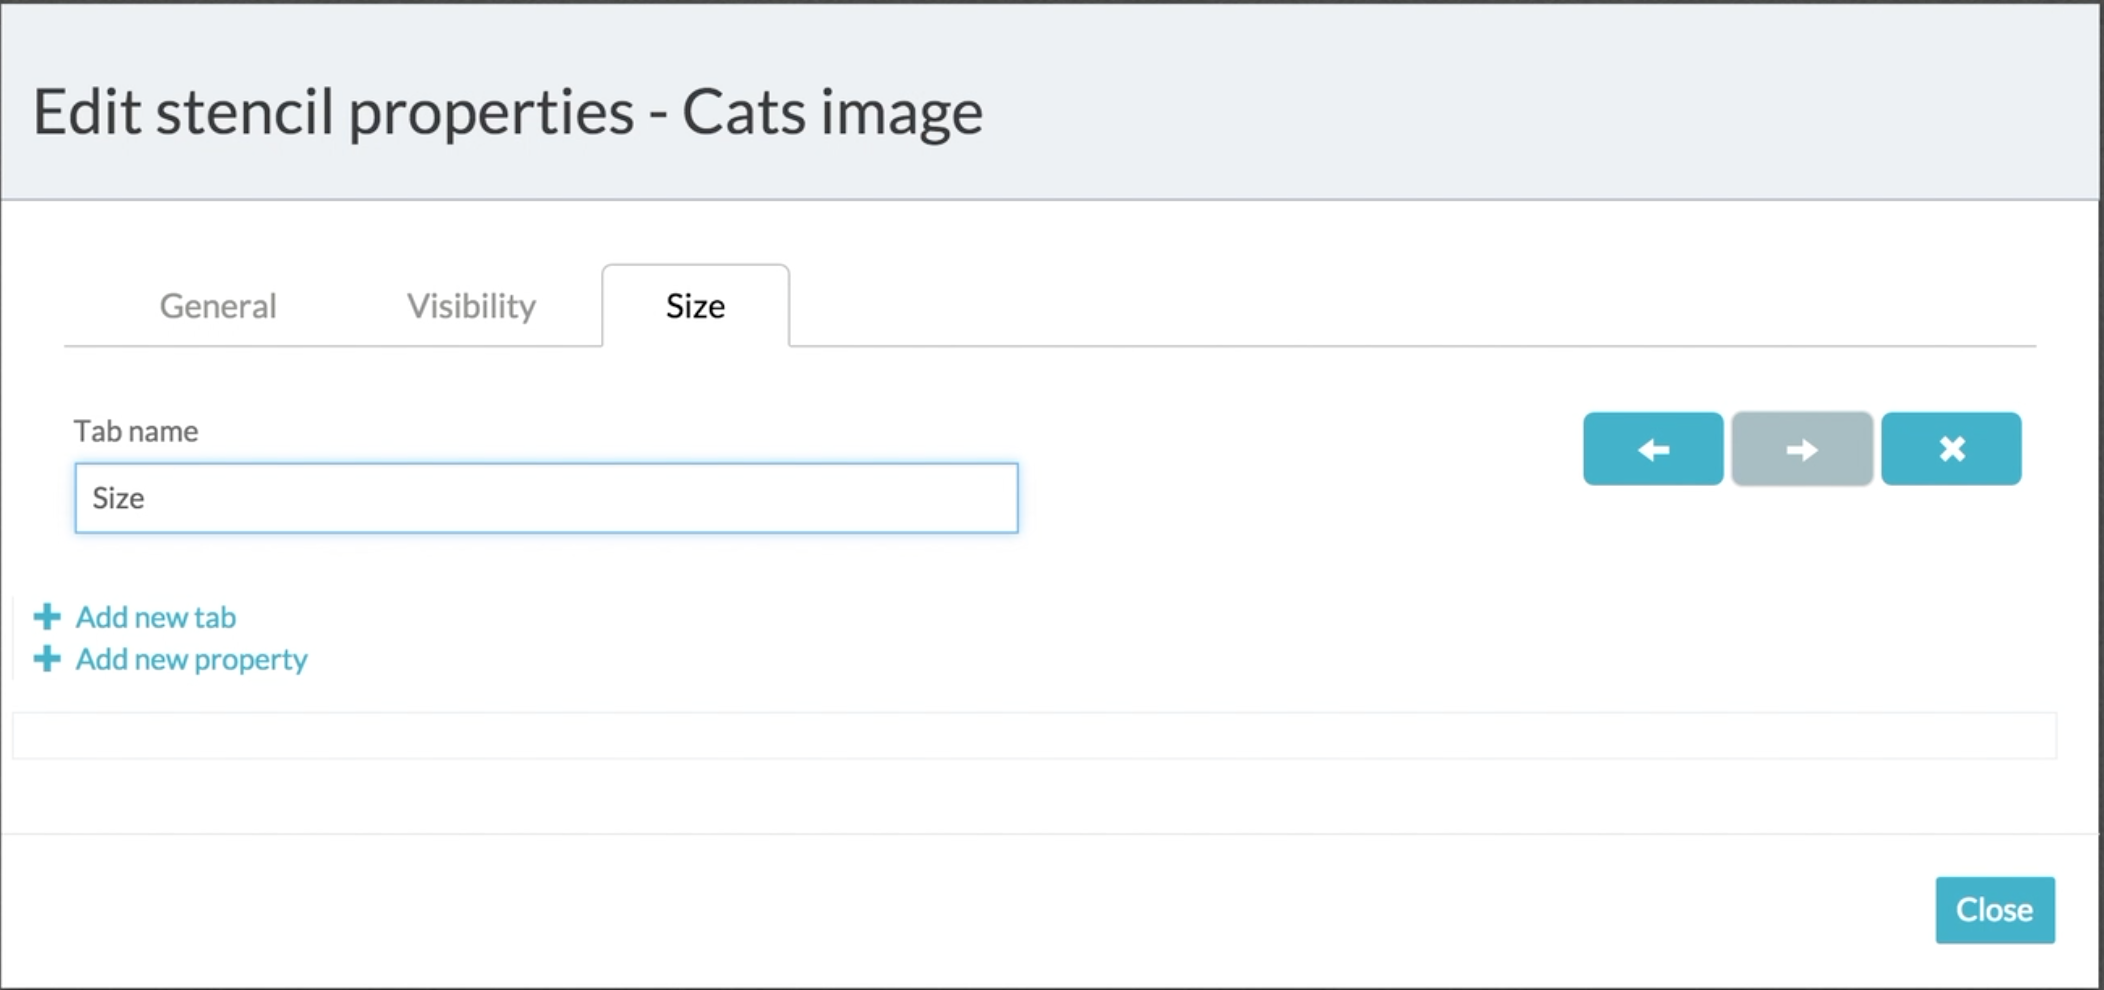
Close the dialog.
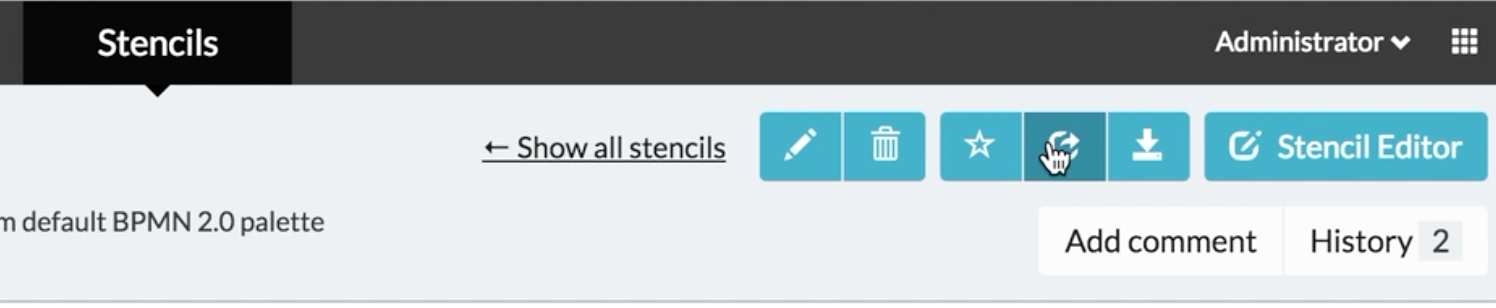
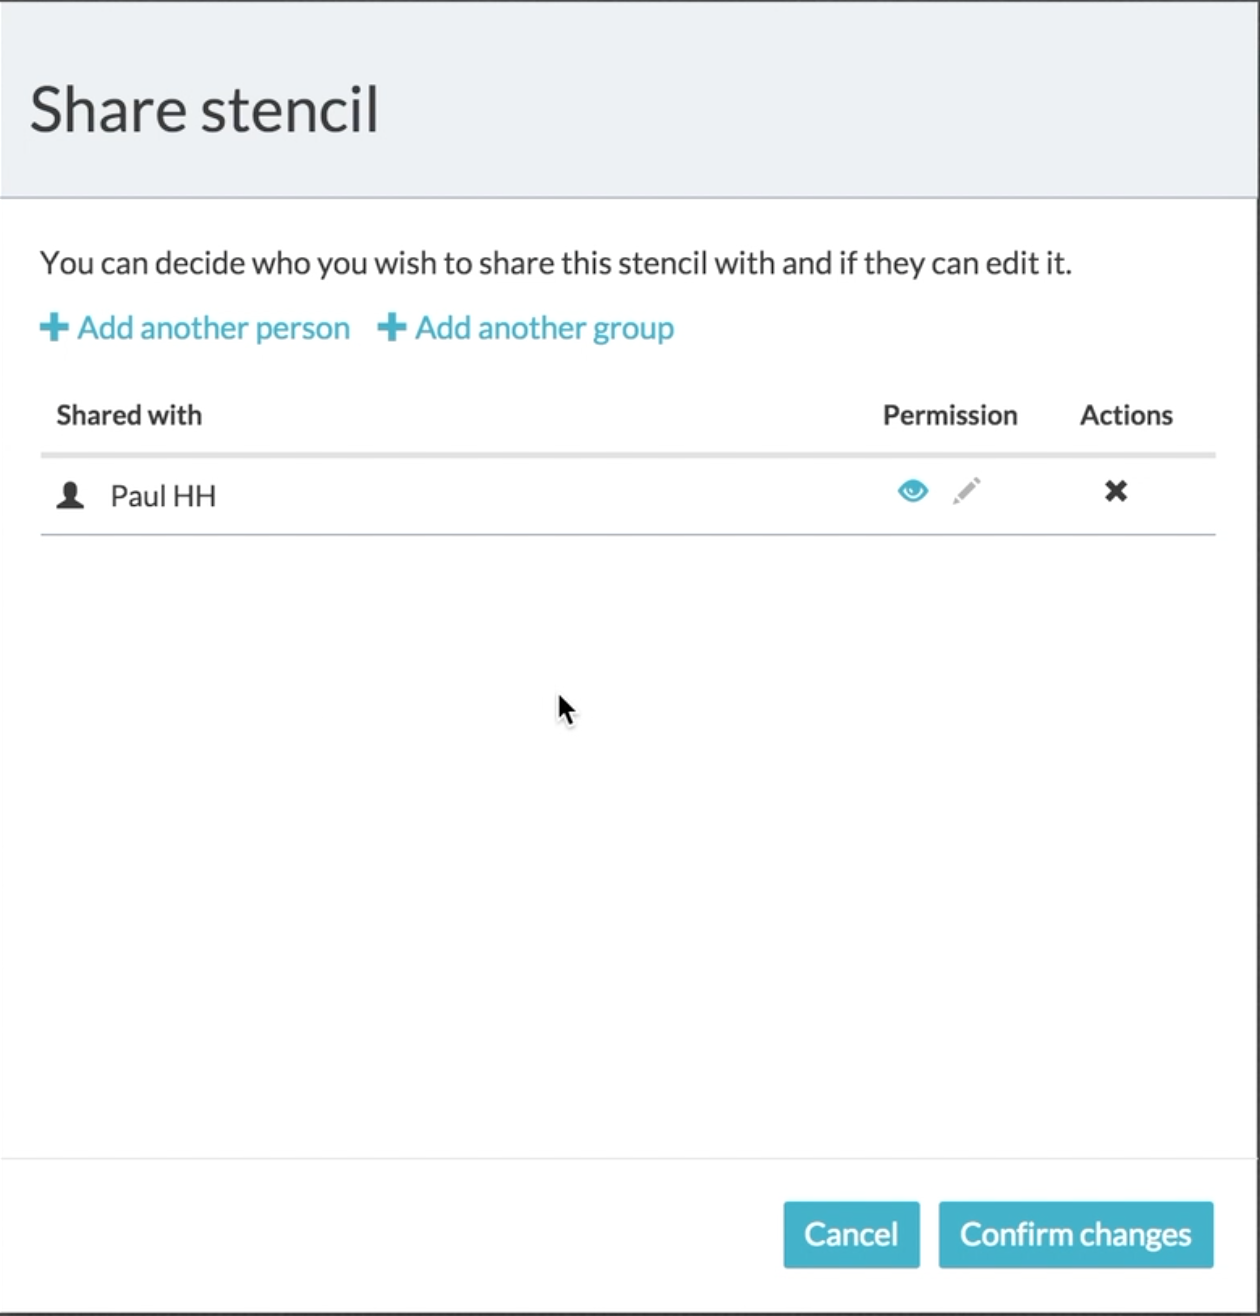
Save the new form control, then save the stencil until you are back at the stencil details page. Unless you just want to keep this exciting stencil to yourself, you’ll want to share it with others. Click the share icon to allow other users or groups to use it.
You only need to give the users read access, but you can give someone write access if you’d like them to be able to extend the stencil as well.
There we go, you’ve created a custom form control. Rather than resting on your laurels, you should now try it out. In the screens below, I’ve used the example REST process from an earlier blog. On the last step of that process it displayed some data from a REST call. I’m going to add a nice relaxing cat picture to the information. I need to create a new form for that step, selecting the Cats Form stencil.

You should now see your cats image control in the left-hand list of field types. Drag and drop the field onto the form.
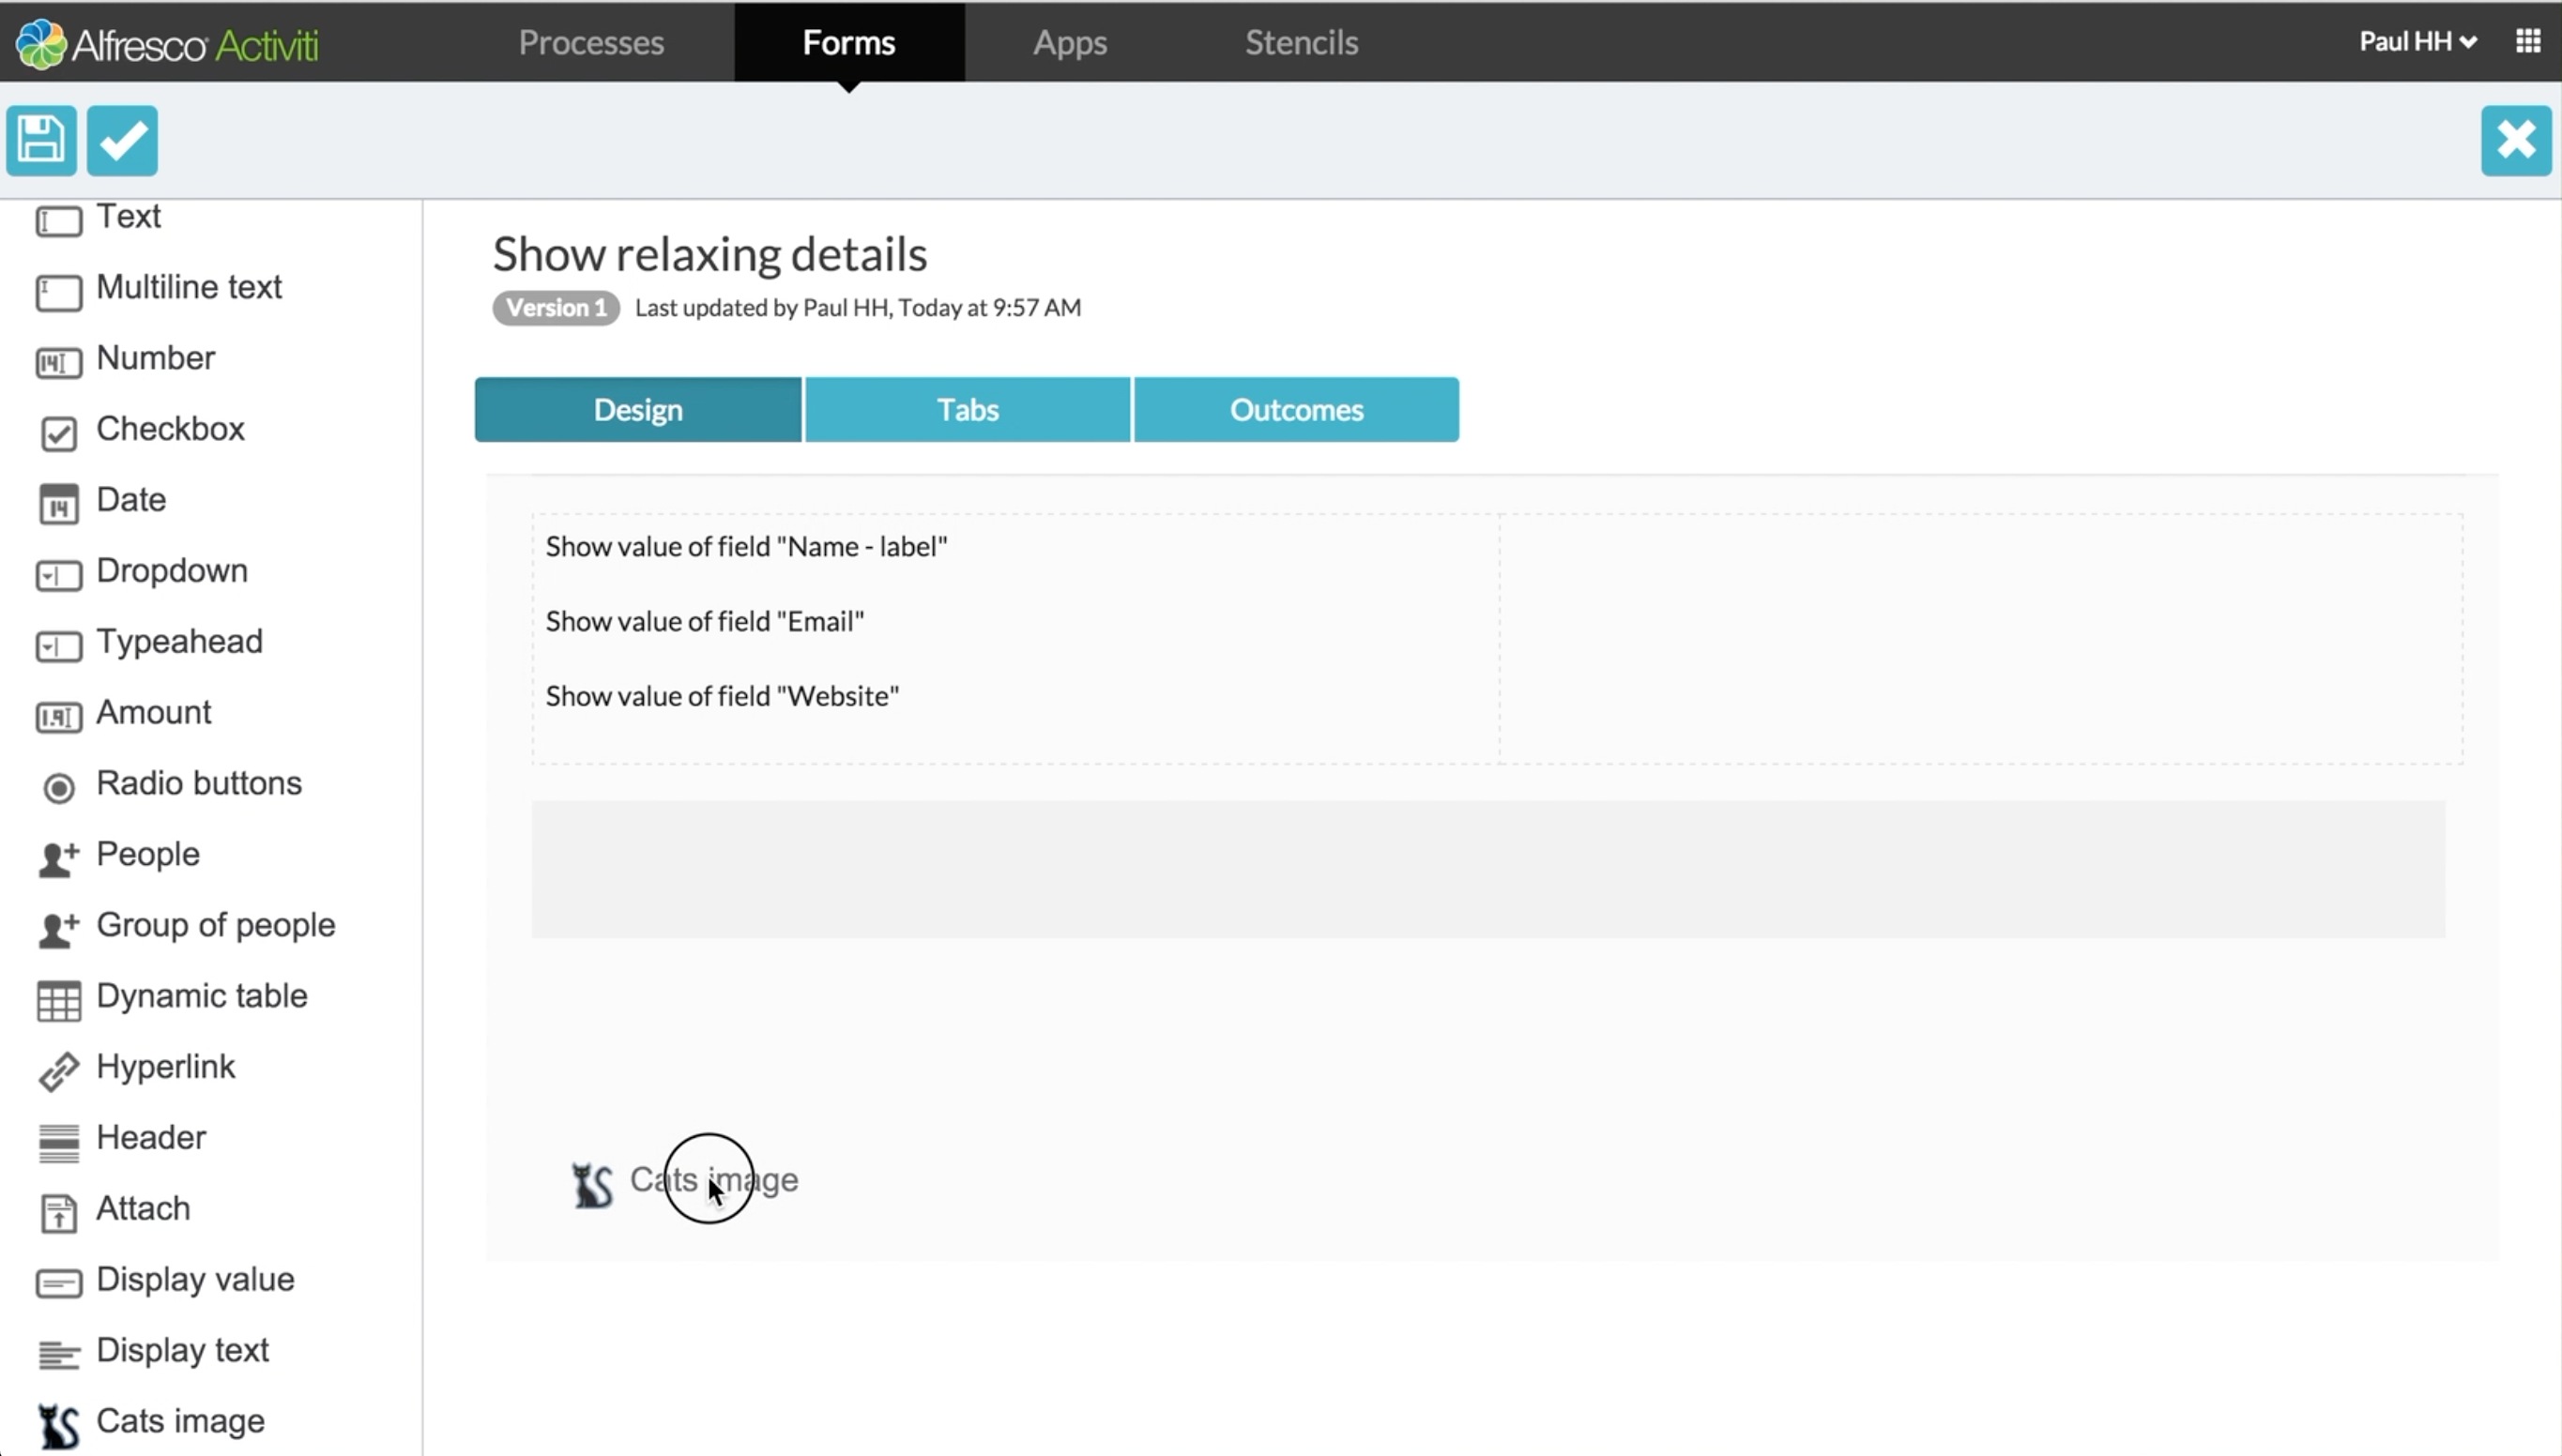
The design time view of your custom control is displayed as the field placeholder.
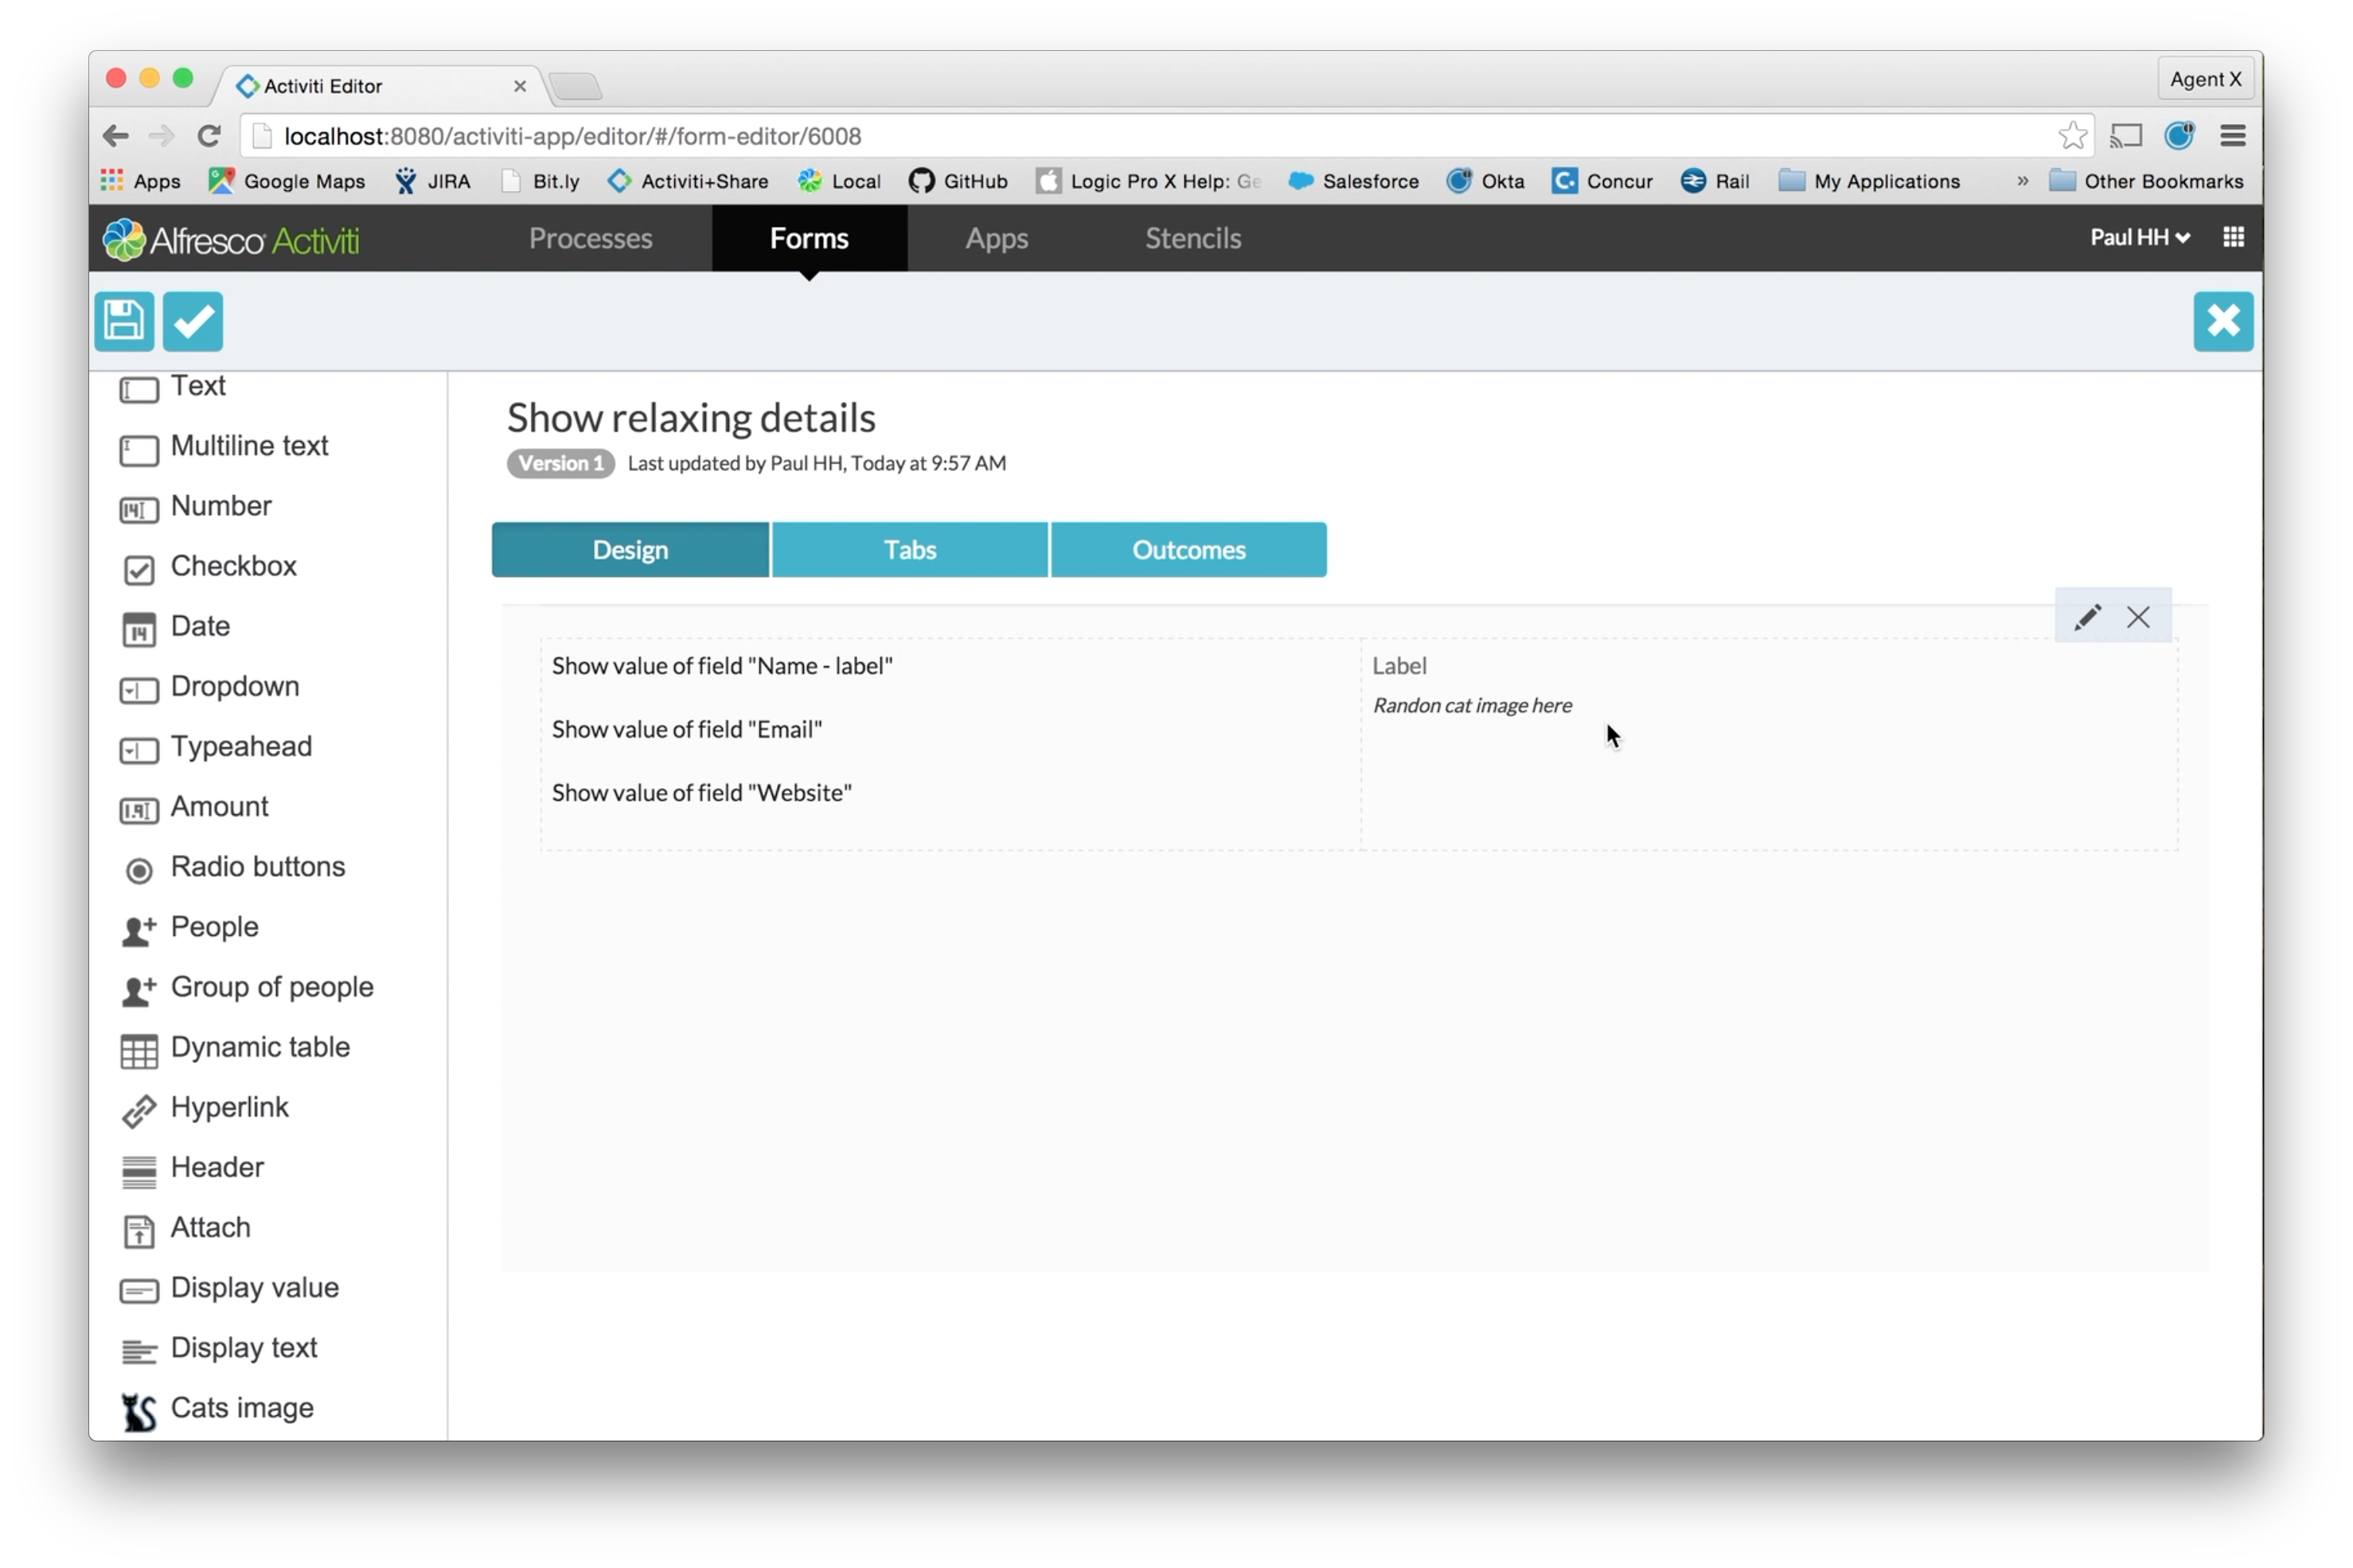
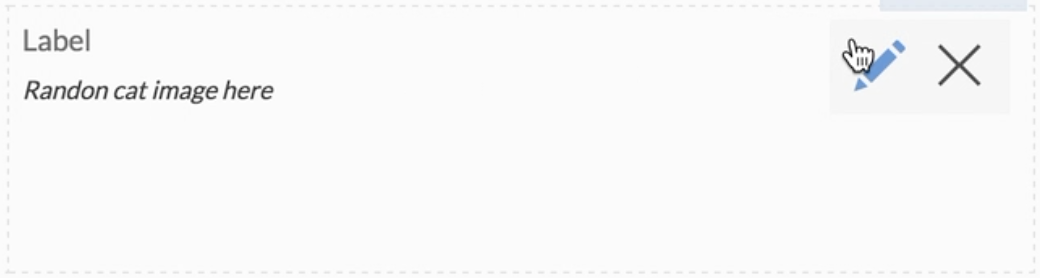
Bring up the configuration dialog for this field by clicking the edit icon.
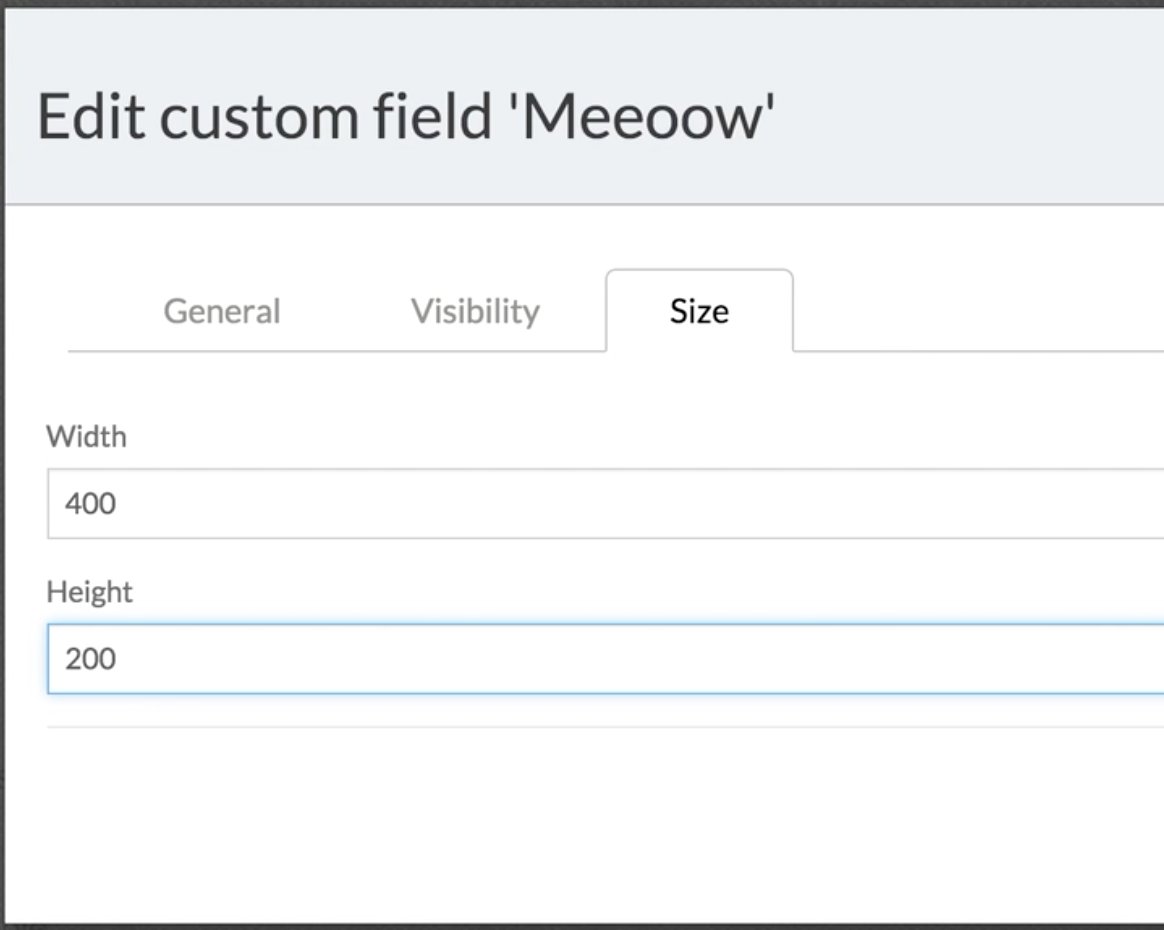
You will see the standard configuration tabs as well as the new one you added. Click on the Size tab and you’ll see the width and height properties. Fill in some values for these. When this form is displayed as part of a process, these values will be passed to the image service to request a cat image of that specific size. In another form you might use different values to get a different size image.
Finally, save the form and process, re-publish the process app that includes it and start the process. If everything has gone to plan and technology is playing nice with you, you should see something like the screen below.

It will be clear to those brain boxes out there that I avoided going into a deeper example of using external Javascript libraries and specialized controllers. There is an example of this in the Developer documentation here.
Now go and create your own custom form controls and stencils. Better still, create a blog or video about it to share here!
Labels
1 Comment
You must be a registered user to add a comment. If you've already registered, sign in. Otherwise, register and sign in.
Alfresco Process Services Blog
Blog posts and updates about Alfresco Process Services and Activiti.
Latest Articles
- Activiti Cloud 7.1.0.M2 released!
- Alfresco Process Services SDK Maven Module
- Activiti Updates, Just in Time for Summer
- New OSS challenges ahead
- Activiti Cloud 7.1.0.M1 released!
- Activiti: Last week Dev Logs #87
- Activiti: Last week Dev Logs #86
- Activiti Cloud SR1 Released!
- Activiti: Last week Dev Logs #85
- Activiti: Last week Dev Logs #84
- Activiti: Last week Dev Logs #83
- Activiti Cloud 7.0.0.GA Released
- Activiti: Last week Dev Logs #82
- Activiti: Last week Dev Logs #81
- Activiti Cloud @ DevCon 2019
We use cookies on this site to enhance your user experience
By using this site, you are agreeing to allow us to collect and use cookies as outlined in Alfresco’s Cookie Statement and Terms of Use (and you have a legitimate interest in Alfresco and our products, authorizing us to contact you in such methods). If you are not ok with these terms, please do not use this website.